Before we go into the instructions for milk foam, let's first take a closer look at milk, types of milk and milk alternatives. We explain what milk actually is, what happens when you treat it, how milk foam is created and much more. If you want to go straight to the instructions, the table of contents will help you.
What's milk, anyway?
Milk is an emulsion made of fat, proteins, lactose and water. There are also some minerals, vitamins and other substances, the amount and composition of which differ depending on the animal species. In addition, the further processing of milk has a major influence on the vitamin content.
Which types of milk can be combined with coffee?
Animal milk is the most commonly used milk when it comes to blended coffee drinks. In Germany, for example, a cappuccino can only be called that if it contains cow's milk.
Milk alternatives made from cereals have now become established. It is available in almost every coffee as an alternative to latte macchiato and the like. Oat milk in particular has become popular here, but spelled, millet and rice drinks can also be easily mixed with coffee. We rely on oat milk from Oatly in the Barista edition.
Milk alternatives made from nuts are much less common than animal milk or grain drinks, but are also popular in coffee. Whether made from almond, cashew, hazelnut, coconut or as a grain-nut mix like in rice-almond milk.
One thing is certain: every milk and milk alternative has its own character, which can either support or overshadow the taste. For delicious coffee, we rely on the supporting properties. Milk fats, also called lipids, serve as flavor carriers and can add texture to a coffee drink.
What happens when you treat milk?
Raw milk is what flows from the udder of a cow, goat, sheep, etc. It is therefore untreated, i.e. not yet further processed, and contains most of the vitamins and proteins. However, the problem with raw milk is its limited shelf life. That's why the milk we buy in the supermarket is treated - also known as fresh milk. Raw milk is usually only available directly on the farm.
Depending on the type of treatment, the milk loses vitamins and becomes denatured. This means that the proteins it contains change structurally. This is especially true when heating milk. On the one hand, this makes them last longer, but it also results in a loss of vitamins of 5-30%, depending on the process.
However, there are also some other types of treatment, such as obtaining lactose-free or low-fat milk. Lactose-free milk is sweeter than milk containing lactose, but otherwise has the same properties. Cow's milk tastes sweet and fresh at a temperature between 60-65 °C, but at a temperature of 68 °C it takes on a burnt taste and deteriorates in texture. What is known as denaturation occurs.
How is milk foam created?
Milk foam is created when air is drawn into the milk and the milk proteins mix with air under pressure. We have listed which milk and utensils are best suited here:
- Fresh milk is best because it foams better and produces a more stable milk foam than long-life milk.
- Cold milk as a starting material results in better milk foam quality because there is more time to produce the foam.
- Stainless steel jugs are best suited for foaming as the temperature during foaming can be easily controlled because the stainless steel conducts it well.
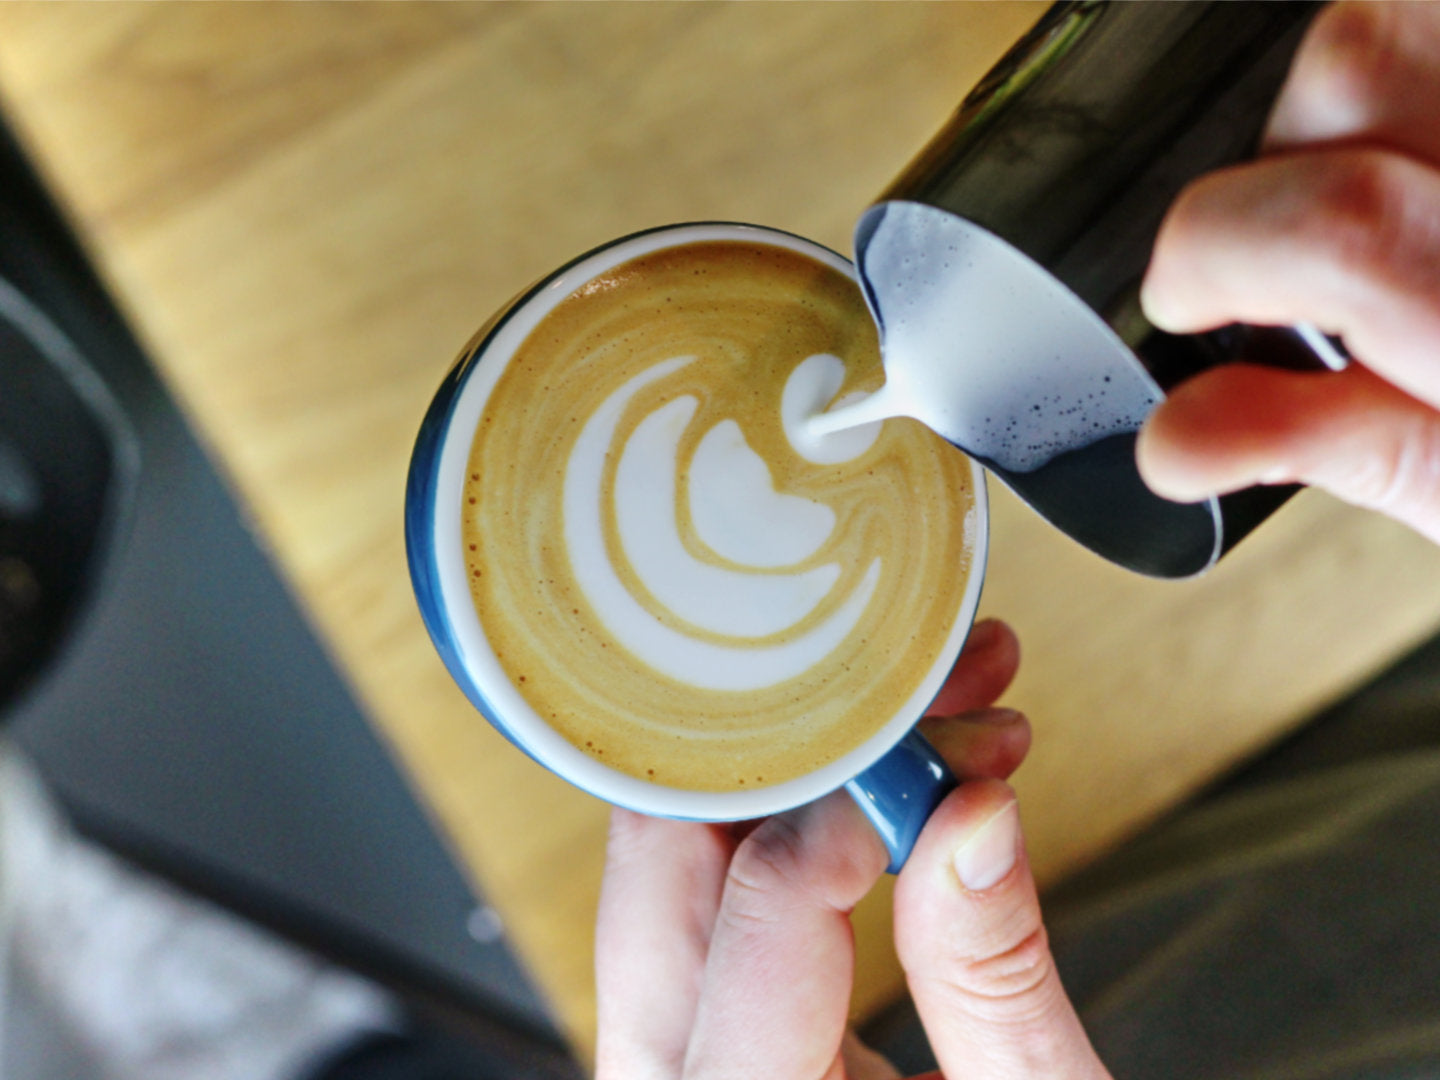
When foaming, the volume of the milk changes - it expands. When it comes to coffee drinks, a distinction is made between solid, fine-pored, dense foam, which is used for latte macchiato, for example, and liquid, creamy, fine-pored foam, which we need for latte art.
The reason: With solid foam, the milk settles to the bottom after just a few seconds and the desired mixing of coffee and milk does not occur. Creamy foam, on the other hand, first spreads across the bottom of the cup and then rises again. This causes the milk and coffee to mix and creates a surface on which we can pour latte art that doesn't submerge.
The quality of the fine-pored, silky milk foam depends on the protein content of the milk and the frothing temperature. The foaming process consists of the drawing phase and the rolling phase.
- The drawing phase takes place at the beginning of foaming. Air is drawn into the milk until it is approx. 40 °C warm (hand warm). The sound should be slightly scratchy.
- The rolling phase can follow the pulling phase or take place during it for even creamier foam. Here we reduce and connect the air bubbles by rotating movements.
The milk frothing process is complete when the milk has reached 60-65°C. A good indicator for not having to use a thermometer every time: The pot is usually too warm to keep. The time it takes to reach the final temperature depends on the amount of milk in the jug.
Froth milk step by step
For every coffee drink with milk, we first prepare an espresso as a basis. We then fill our milk jug 2/3 full with cold milk. Tip: For most jugs, reach the lower end of the spout (spout). Before we start frothing the milk, we briefly open the steam valve of the portafilter machine to drain any accumulated condensation.
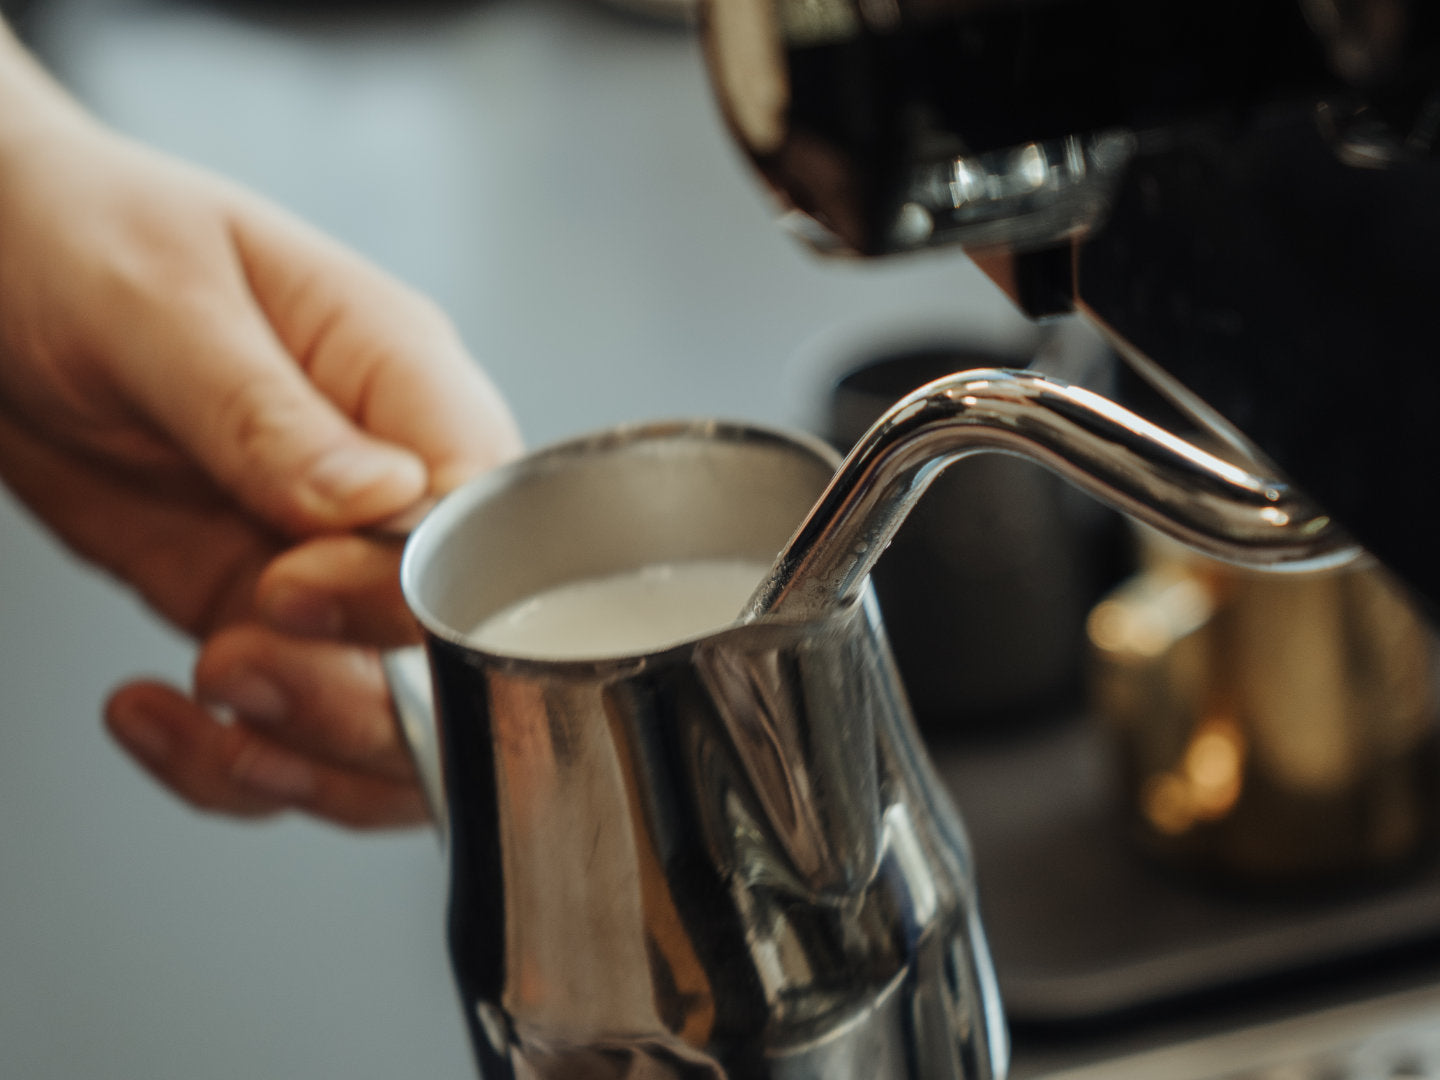
We now position the head of the steam lance below the surface of the milk and open the steam tap completely. Pay attention to the order, otherwise milk will squirt out of the jug. We grasp the front of this with one palm and hold it by the handle with the other hand.
The drawing phase begins and the first milk foam forms. We draw air into the milk and move the jug slightly downwards so that part of the steam wand head becomes visible. A scratching noise is made as the jug noticeably warms up.
This is followed by the rolling phase, in which the foam is compacted. We move the jug slightly upwards so that the head of the steam lance goes back under the surface of the milk while the milk is compressed in a rotating manner. As soon as the jug gets hot and it becomes uncomfortable to hold, we close the steam tap and put the milk jug aside. The milk should be at a temperature of around 65°C.
After frothing milk, the milk foam should remain in motion. Larger air bubbles can be knocked out by tapping the base of the jug on the work surface in a controlled but firm manner.
The general rule for a successful foaming process is: the correct position of the steam head in the milk, plus the correct angle of the jug, plus the correct angle of the jug in relation to the steam lance.
This is how it works with the right angles
- Align the steam wand at a 45 degree angle, pointing straight towards you.
- Position the jug so that the steam head is centered in the milk.
- Tilt the bottom of the jug slightly to the left.
- This means that the steam head is about 1/3 away from the right edge of the jug. The position may vary with different jugs and machines.
Clean the steam wand regularly to remove milk residue
After each foaming process, you should clean the steam lance immediately. It's best to put a damp microfiber cloth next to the machine for wiping. Since milk is sometimes drawn into the steam lance when the steam tap is closed, we open the tap again briefly after the foaming process.
We also regularly soak the steam head in milk fat cleaner or lemon juice to keep it clean. Stainless steel pitchers are easy to clean. If necessary, we also clean these with milk cleaner.
Tips and tricks for perfect milk foam
Always work slowly and in a controlled manner rather than quickly and vigorously. You can practice foaming without milk by adding a drop of detergent to a jug of cold water. Alternatively, a spoonful of milk in the water also works. You should hear a scratchy sound as you foam. If the jug squeaks, either the steam lance is too far into the milk and is not sucking in air (drawing phase too short) or the steam tap is not fully turned on.
- If the steeping phase is too long, the milk foam will be too thick and not shiny.
- To promote rotation during the rolling phase, the head of the steam wand should point towards the edge of the pot.
- If you foam for several drinks at the same time, the finished milk must be redistributed in portions into additional jugs, otherwise the first drink will have more foam in the cup than the following drinks. After preparing each drink, we pour the remaining milk back into the first jug and swirl it before splitting the milk foam again.
- By swirling and turning the jug after foaming, the milk remains homogeneous. After frothing, the milk should remain in constant motion until it is processed.
Did you like the article? Write us a comment. If you would like to know how to use your milk foam for cappuccinos, flat whites, lattes, etc., take a look at our other blog articles.

