

To start the dial-in, our coffee work place should be well prepared. That means:
- Portafilters are hot
- Tamper is ready
- Precision scale with timer is ready to hand
- Clean kitchen or barista towel is within reach
- We have a small spoon
- The coffee grinder has been cleaned and no longer contains any coffee residue
Ready? Let's go!
A good coffee grinder is at least as important for a balanced espresso as the portafilter. However, some grinders produce bad results, especially with the finer grinds for espresso. The result is uneven coffee particles and correspondingly less controllable extraction.
1. Grind coffee for the first time
To find out the current grinding level of our grinder, we grab about 8 g of coffee beans and grind them onto a small plate. We spread the ground material around a little and take a close look at it. What happens if we squeeze it with our finger? Does the ground coffee form small clumps? Then we are already on the right track. If no lumps form, the grinder is probably set too coarsely. In this case we adjust the grinding level finer.

2. Find the amount of coffee for your espresso
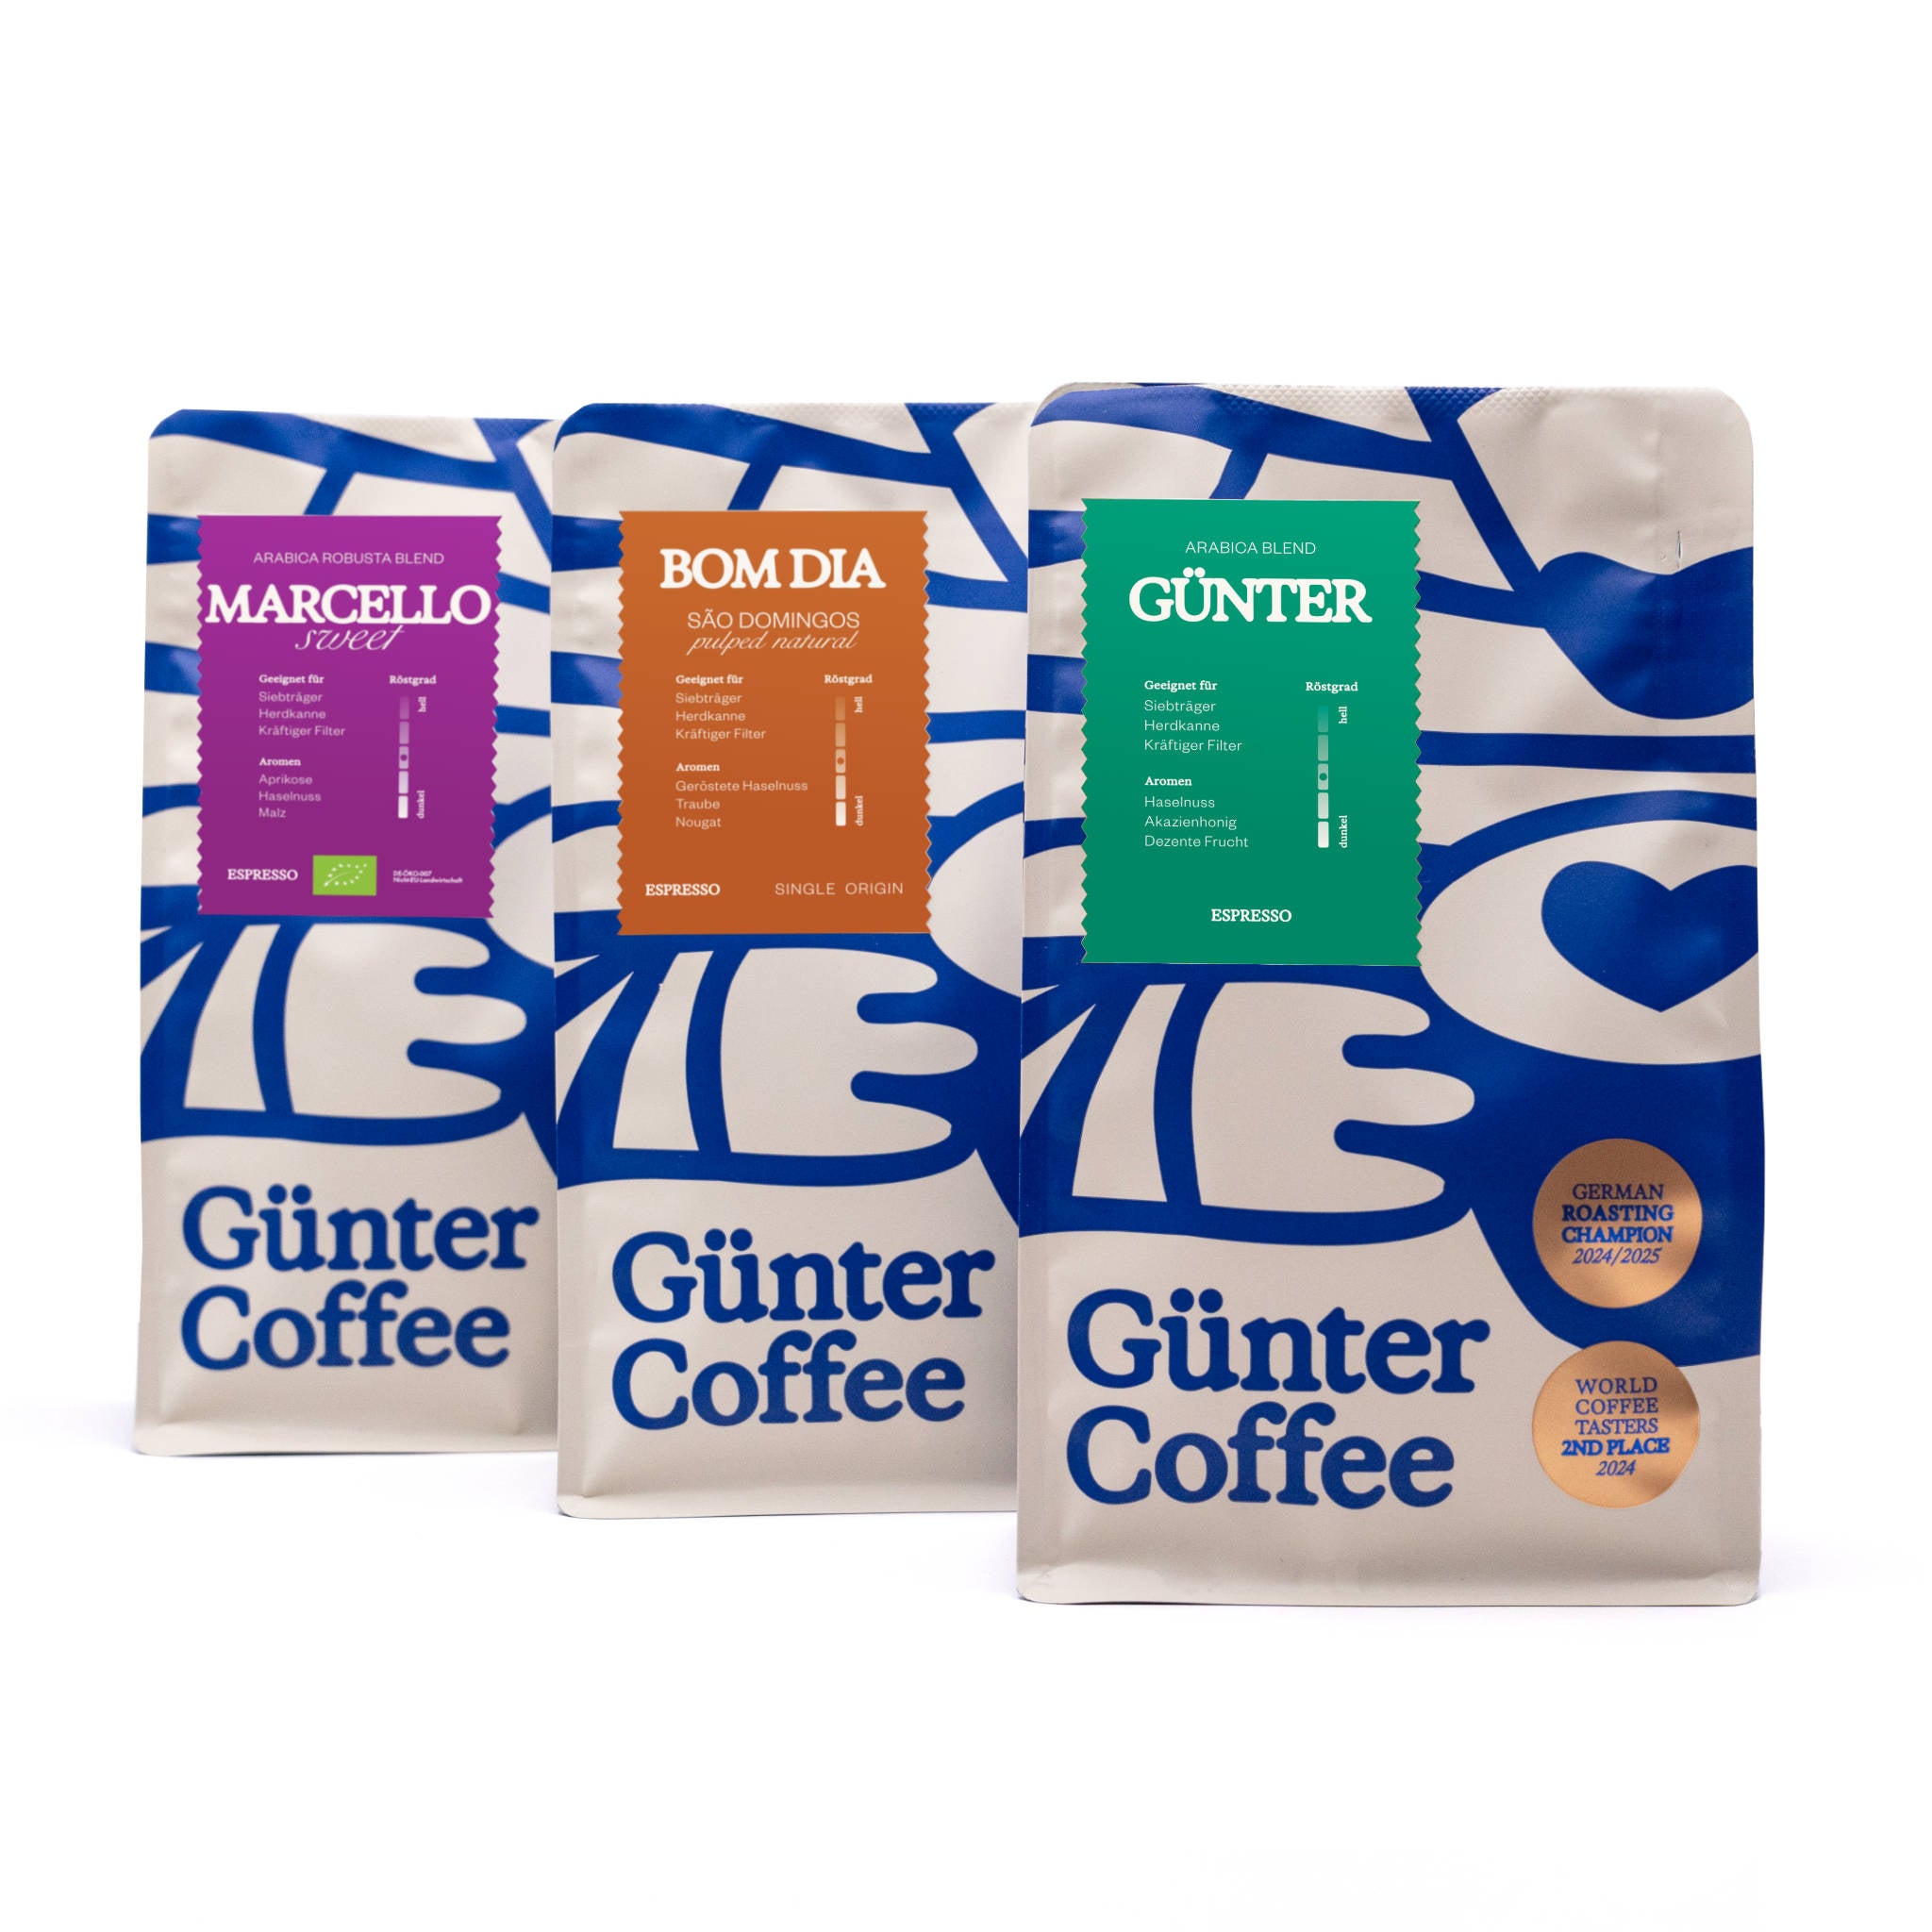
How much coffee fits in the portafilter? If we don't yet know the answer to this question, the machine's operating instructions will help. The maximum amount is often shown on the sieve used. 14, 17 or 20 g are common here. Many recipes call for 18.5 g of coffee to produce a finished espresso with a final weight of 40 g. This is a so-called double shot, which corresponds to two individual espressos. In our example we work with this information. A single shot usually ranges between 8 and 10g of ground coffee per 20g of finished espresso.
3. Grind your designated dose of coffee beans
We take our fine scale, place the portafilter on it and press tare. We then place the portafilter under the mill and start the first manual grind. To do this, we will ignore the mill's timer for now, if there is one. After dispensing, we place the portafilter back on the scales and make sure that we grind exactly the amount of coffee we need. In the case of our example that's 18.5 g.
If the displayed weight is not correct, we grind some more coffee. If we have ground too much, we spoon out ground coffee until the scales show the desired dose. If this is the case, we level and tamp the ground coffee (level and press). Now we clamp the portafilter into our coffee machine, place a scale with a cup underneath it - don't forget to tare - and start the withdrawal at the same time as the scale's timer.
4. Coffee throughput time in the portafilter
If the scale shows 40g, the espresso is ready with 18.5 g of ground coffee from our example. We stop the timer. If the espresso processing time is less than 25 seconds, the grinding level is too coarse. If it is well over 30 seconds, the mill is grinding too finely. If we are in between, the result should taste really good. Outside the 25-30 secondswe have either an under-extracted or an over-extracted espresso. In order to develop a better feeling for good coffee, we try it anyway.
5. Adjust the grinding level if the extraction time is too short or long
If our espresso runs through in less than 25 or more than 30 seconds, we need to adjust the grinding level of the coffee grinder. If the processing time is too fast (<25 seconds), we grind finer. If it is too slow (>30 seconds), we grind it coarser accordingly. We recommend making large rather than small increments when adjusting the grind for the first time. This gives us two good reference points to find the ideal grinding degree in between by the third grinding attempt at the latest. This is how we remain efficient and economical.
After adjusting the grinding level, our first grind is still inconsistent because there are coffee particles from the previous grind setting in it. We want to avoid that. That's why we always make sure that we dispose of ground coffee according to a double shot. This is the only way we can get a homogeneous grinding result for the portafilter. We use the waste as fertilizer for houseplants, for example. You can also use a blow hopper for better efficiency.
6. Taste, taste, taste!
Let's move on to the most important step of dial-in, tasting. We try our espresso shots. First we mix the crema with the espresso so that the two components mix. Now let's sit down and take a sip. We pay attention to sweetness, acidity, bitterness and aftertaste.
If the espresso is made too slowly, we speak of over-extraction. It tastes very intense, usually bitter, makes the mouth dry and does not leave a pleasant aftertaste. Under-extracted espresso is often characterized by a sharp and therefore unpleasant acidity, little texture, hardly any sweetness and a very short aftertaste. The reason for this is that the water works its way through the ground coffee too quickly.
When acidity and sweetness harmonize and a round, long-lasting taste fills our mouth, we are on the right track. Once our recipe is set, the last step is to set the time on our grinder that it needs to grind the selected amount of coffee.
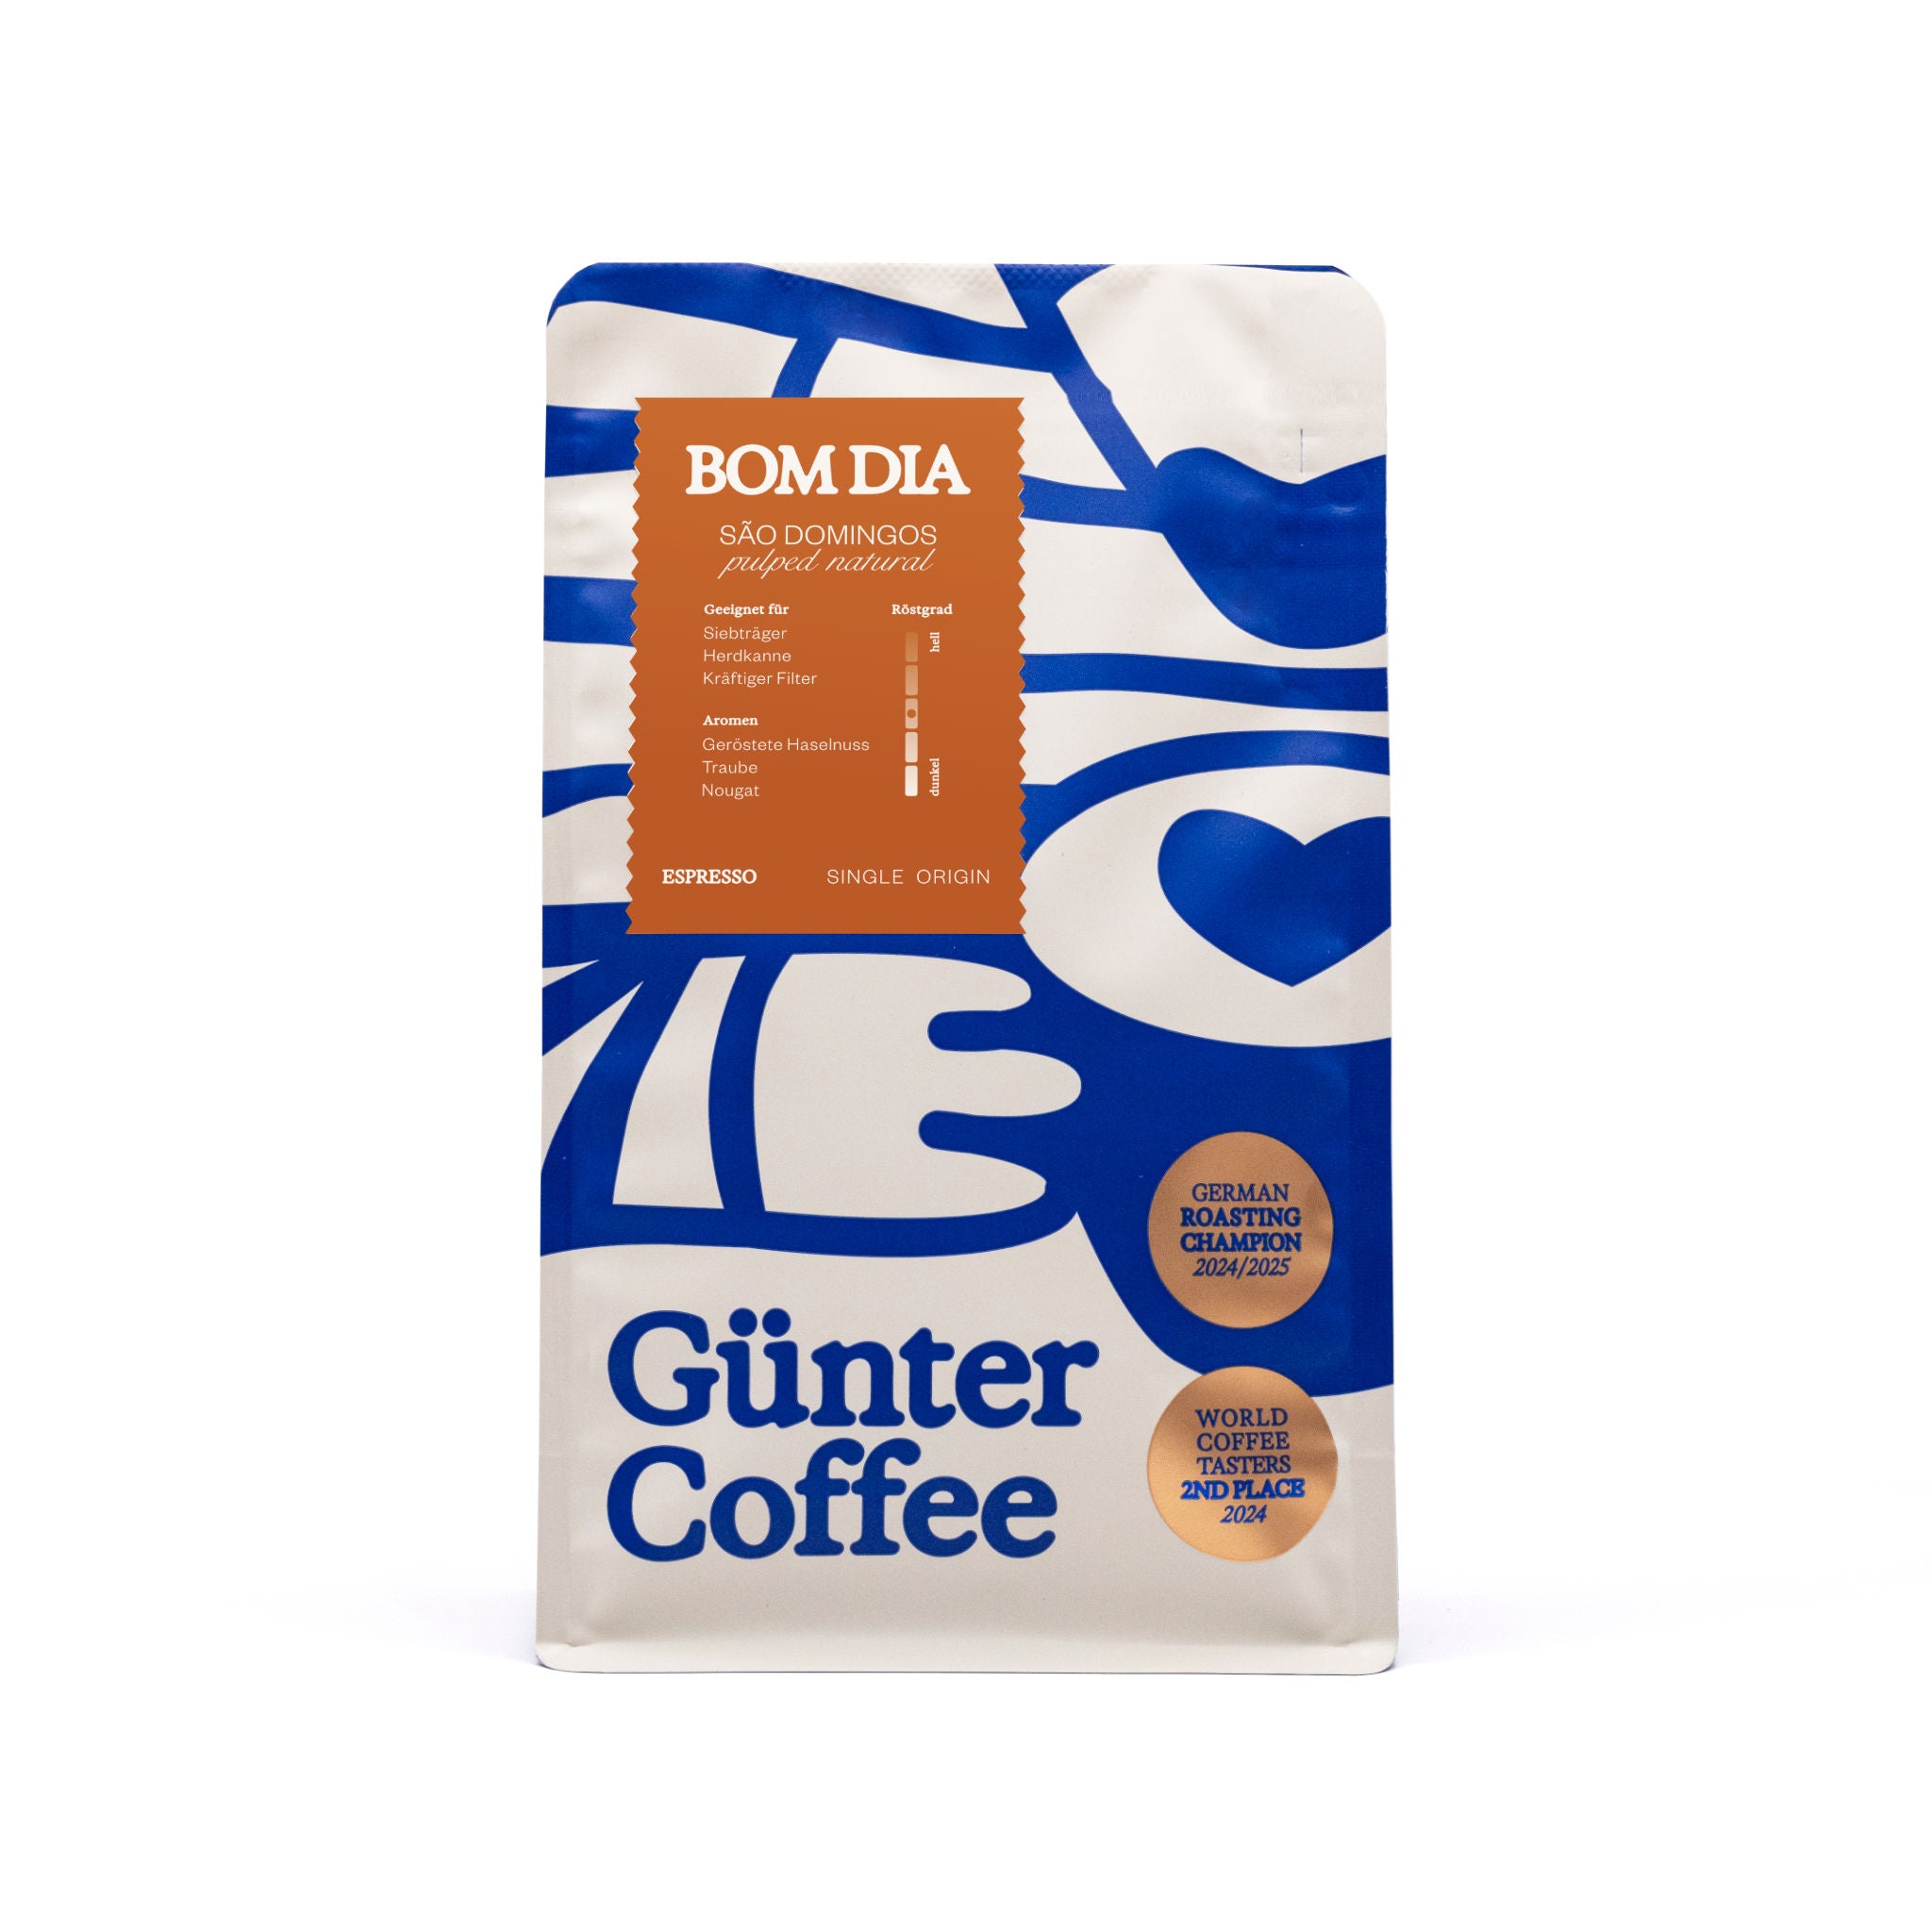
You can find more tips for the perfect espresso in our Brew Guide for the portafilter machine.


4 comments
Nico | Günter Coffee
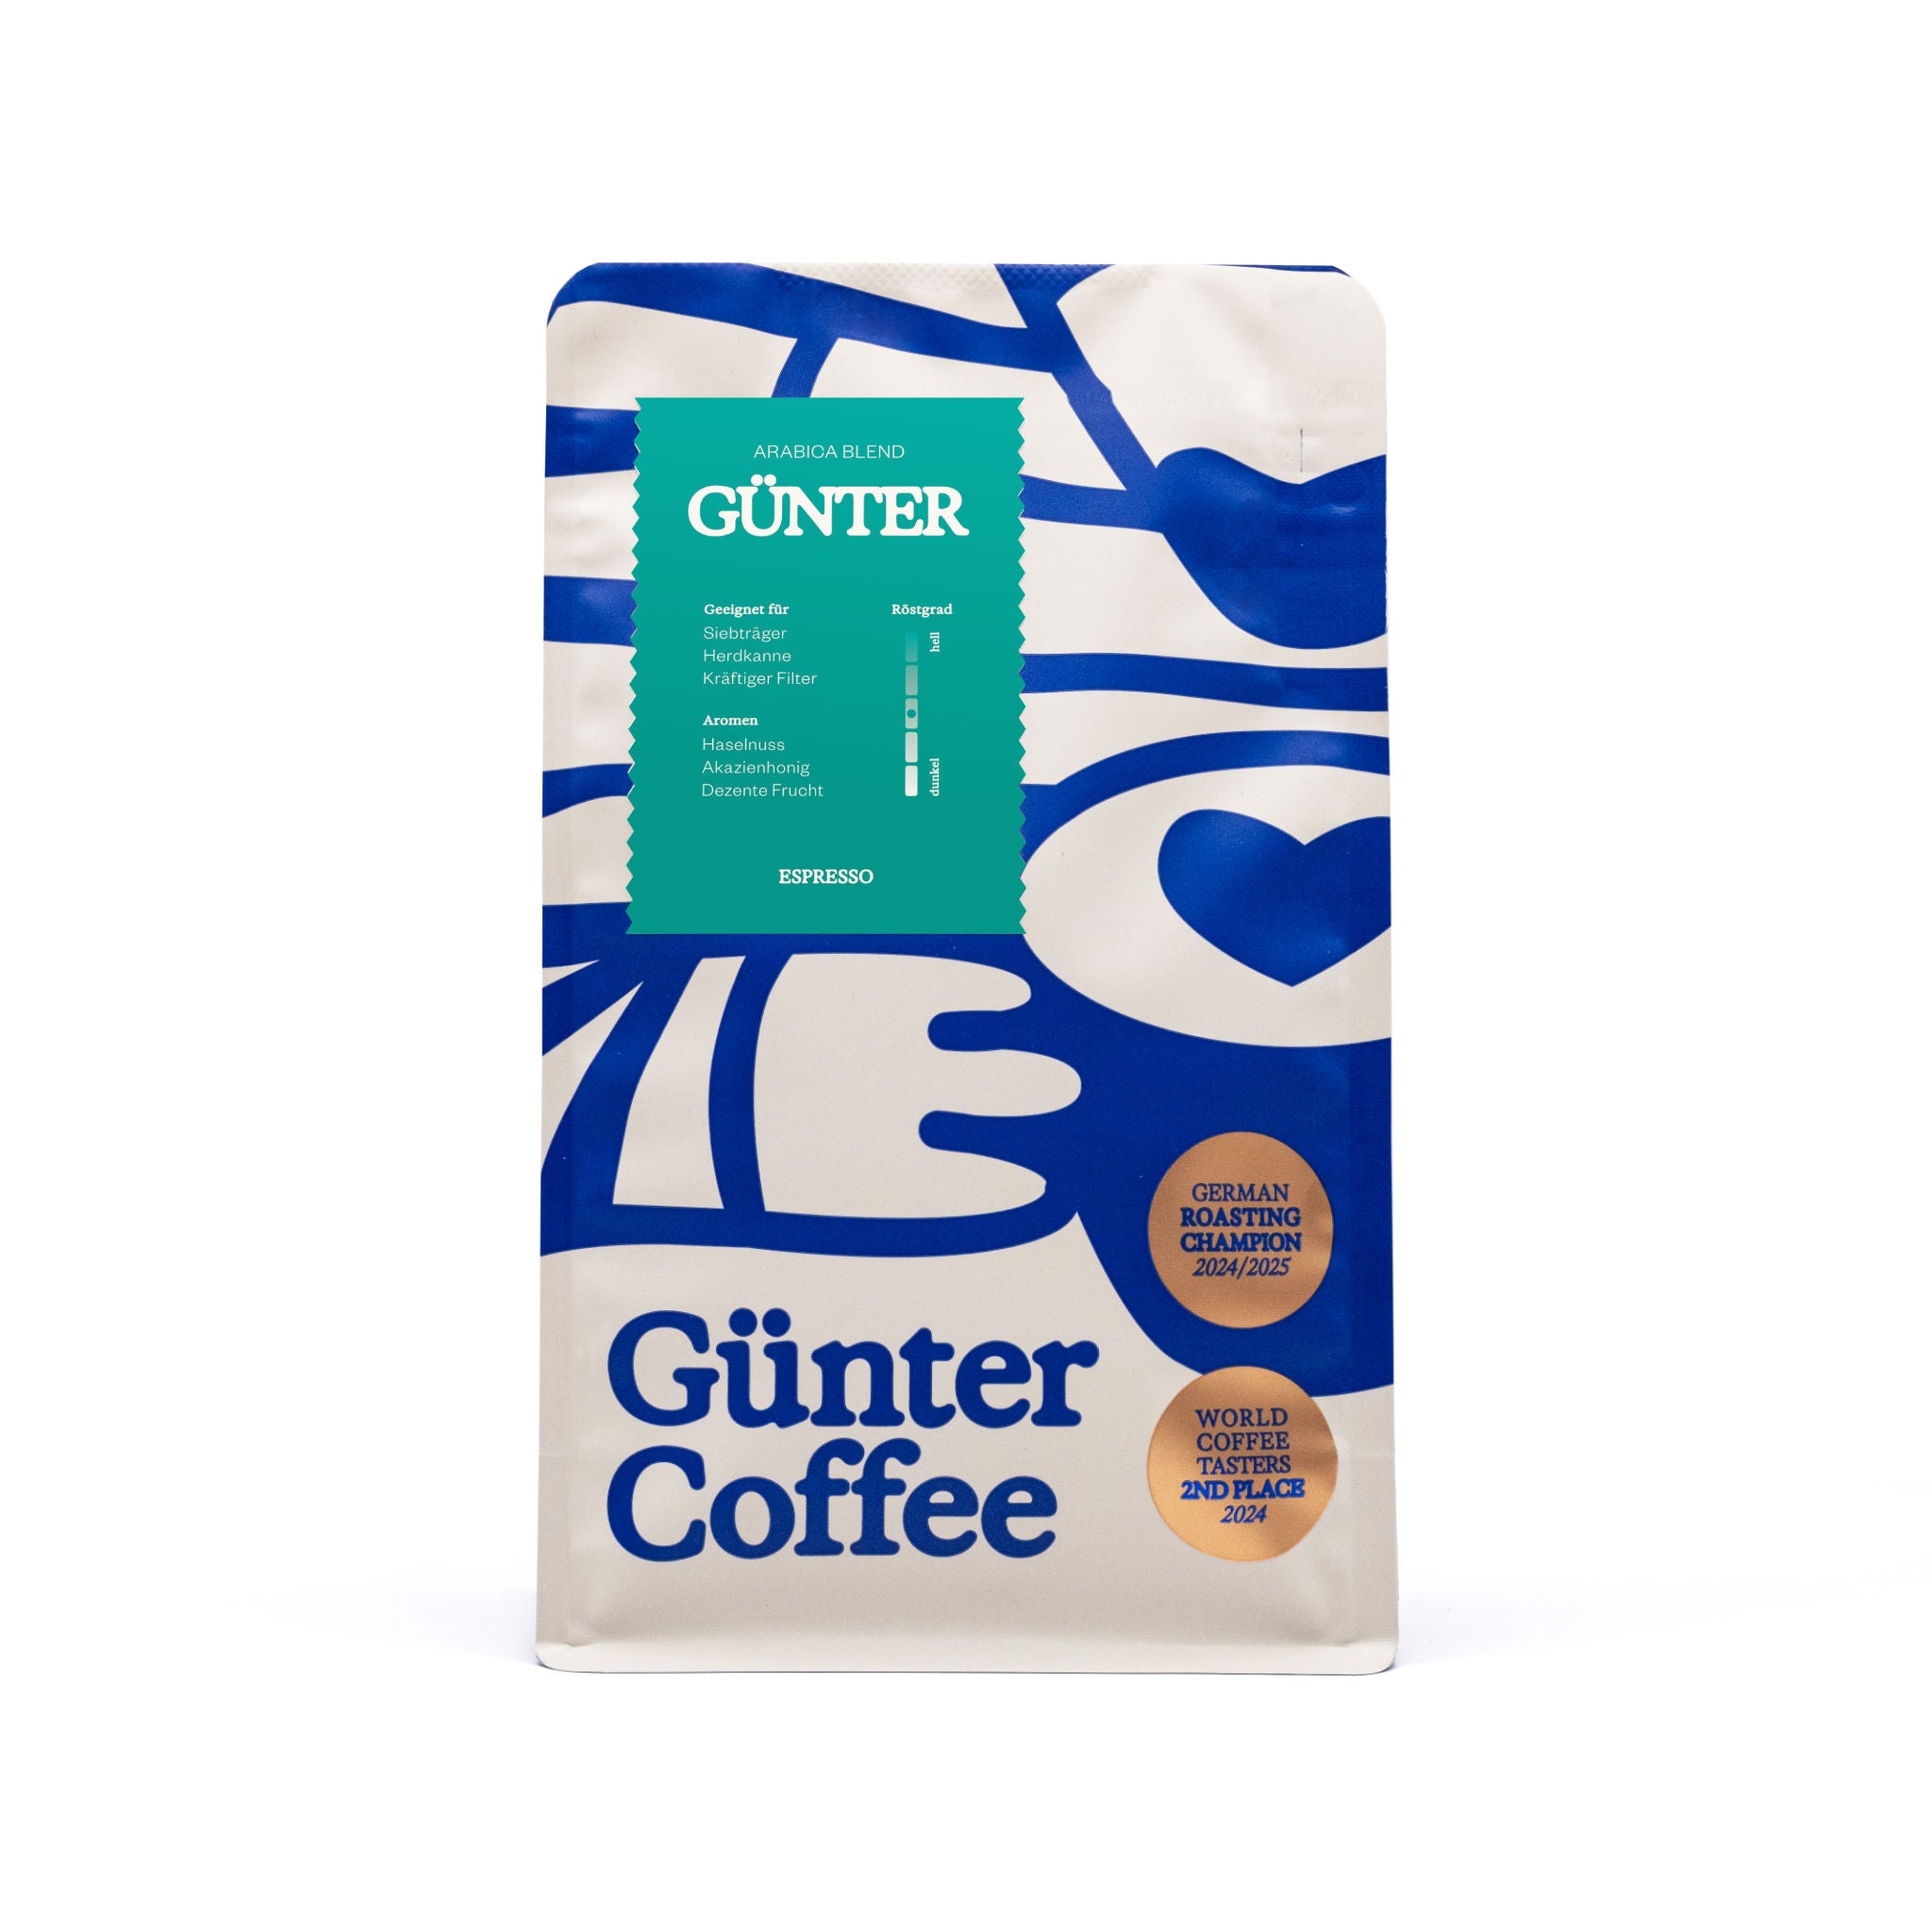
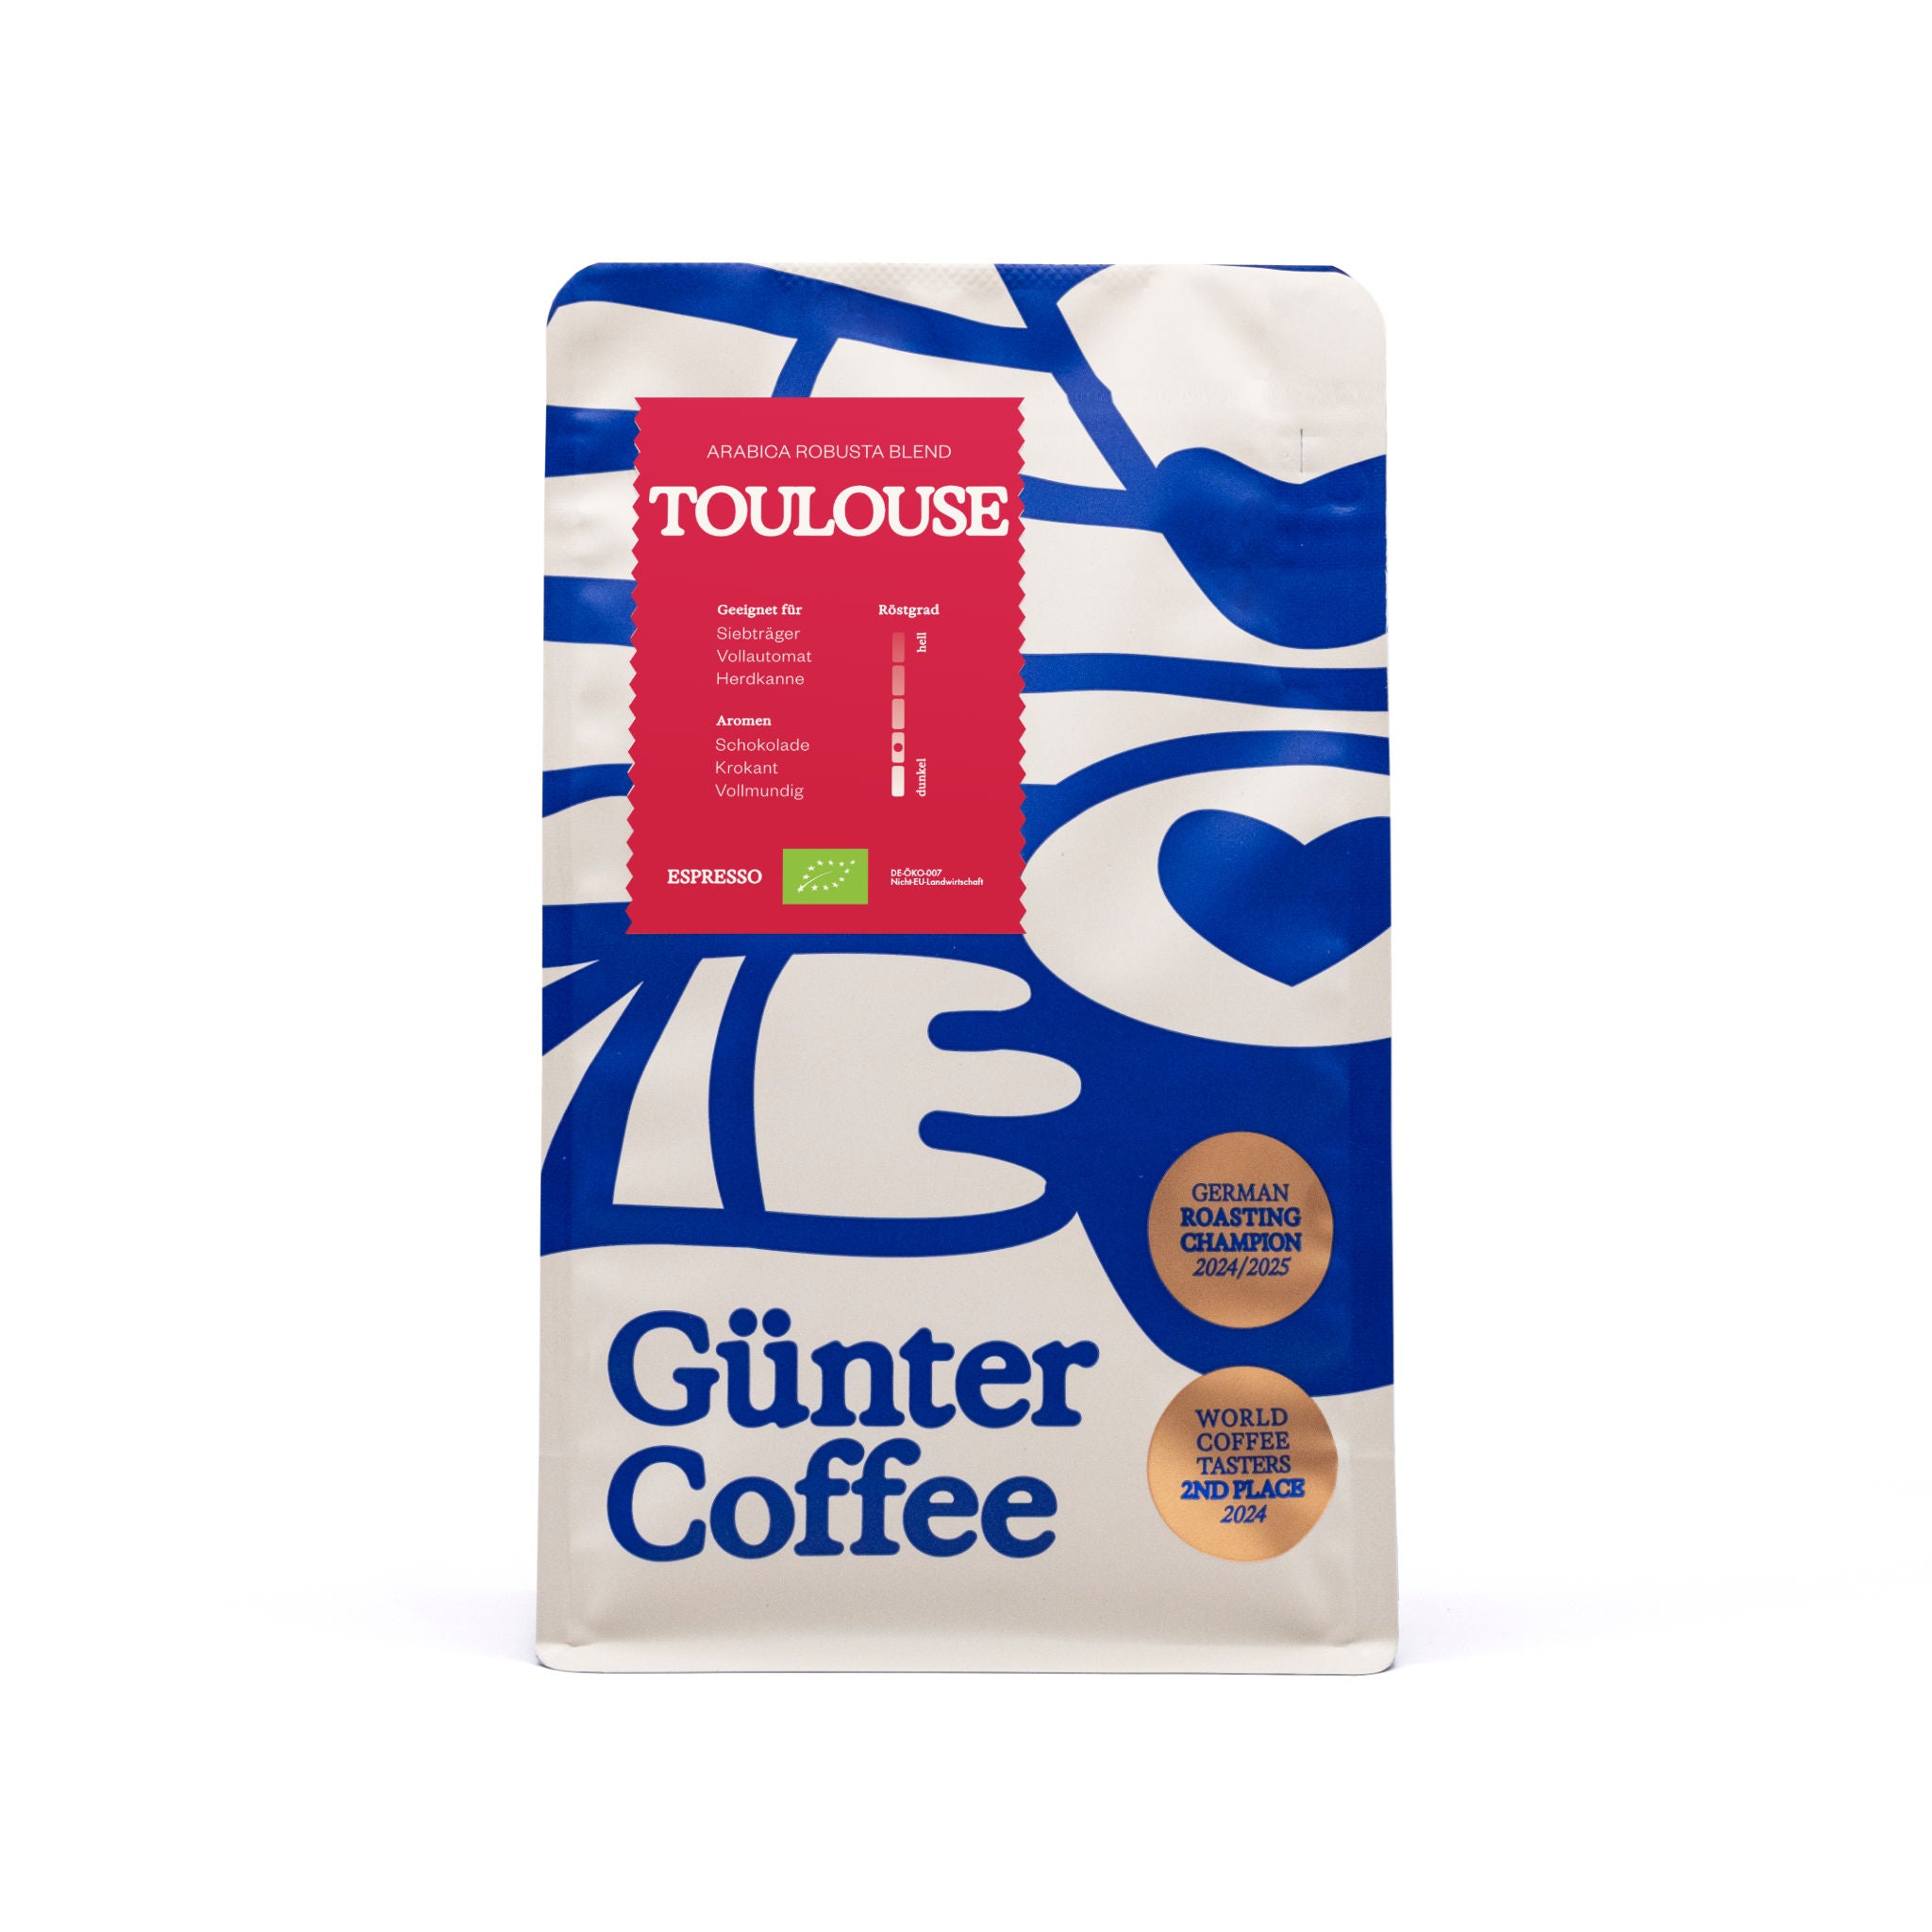
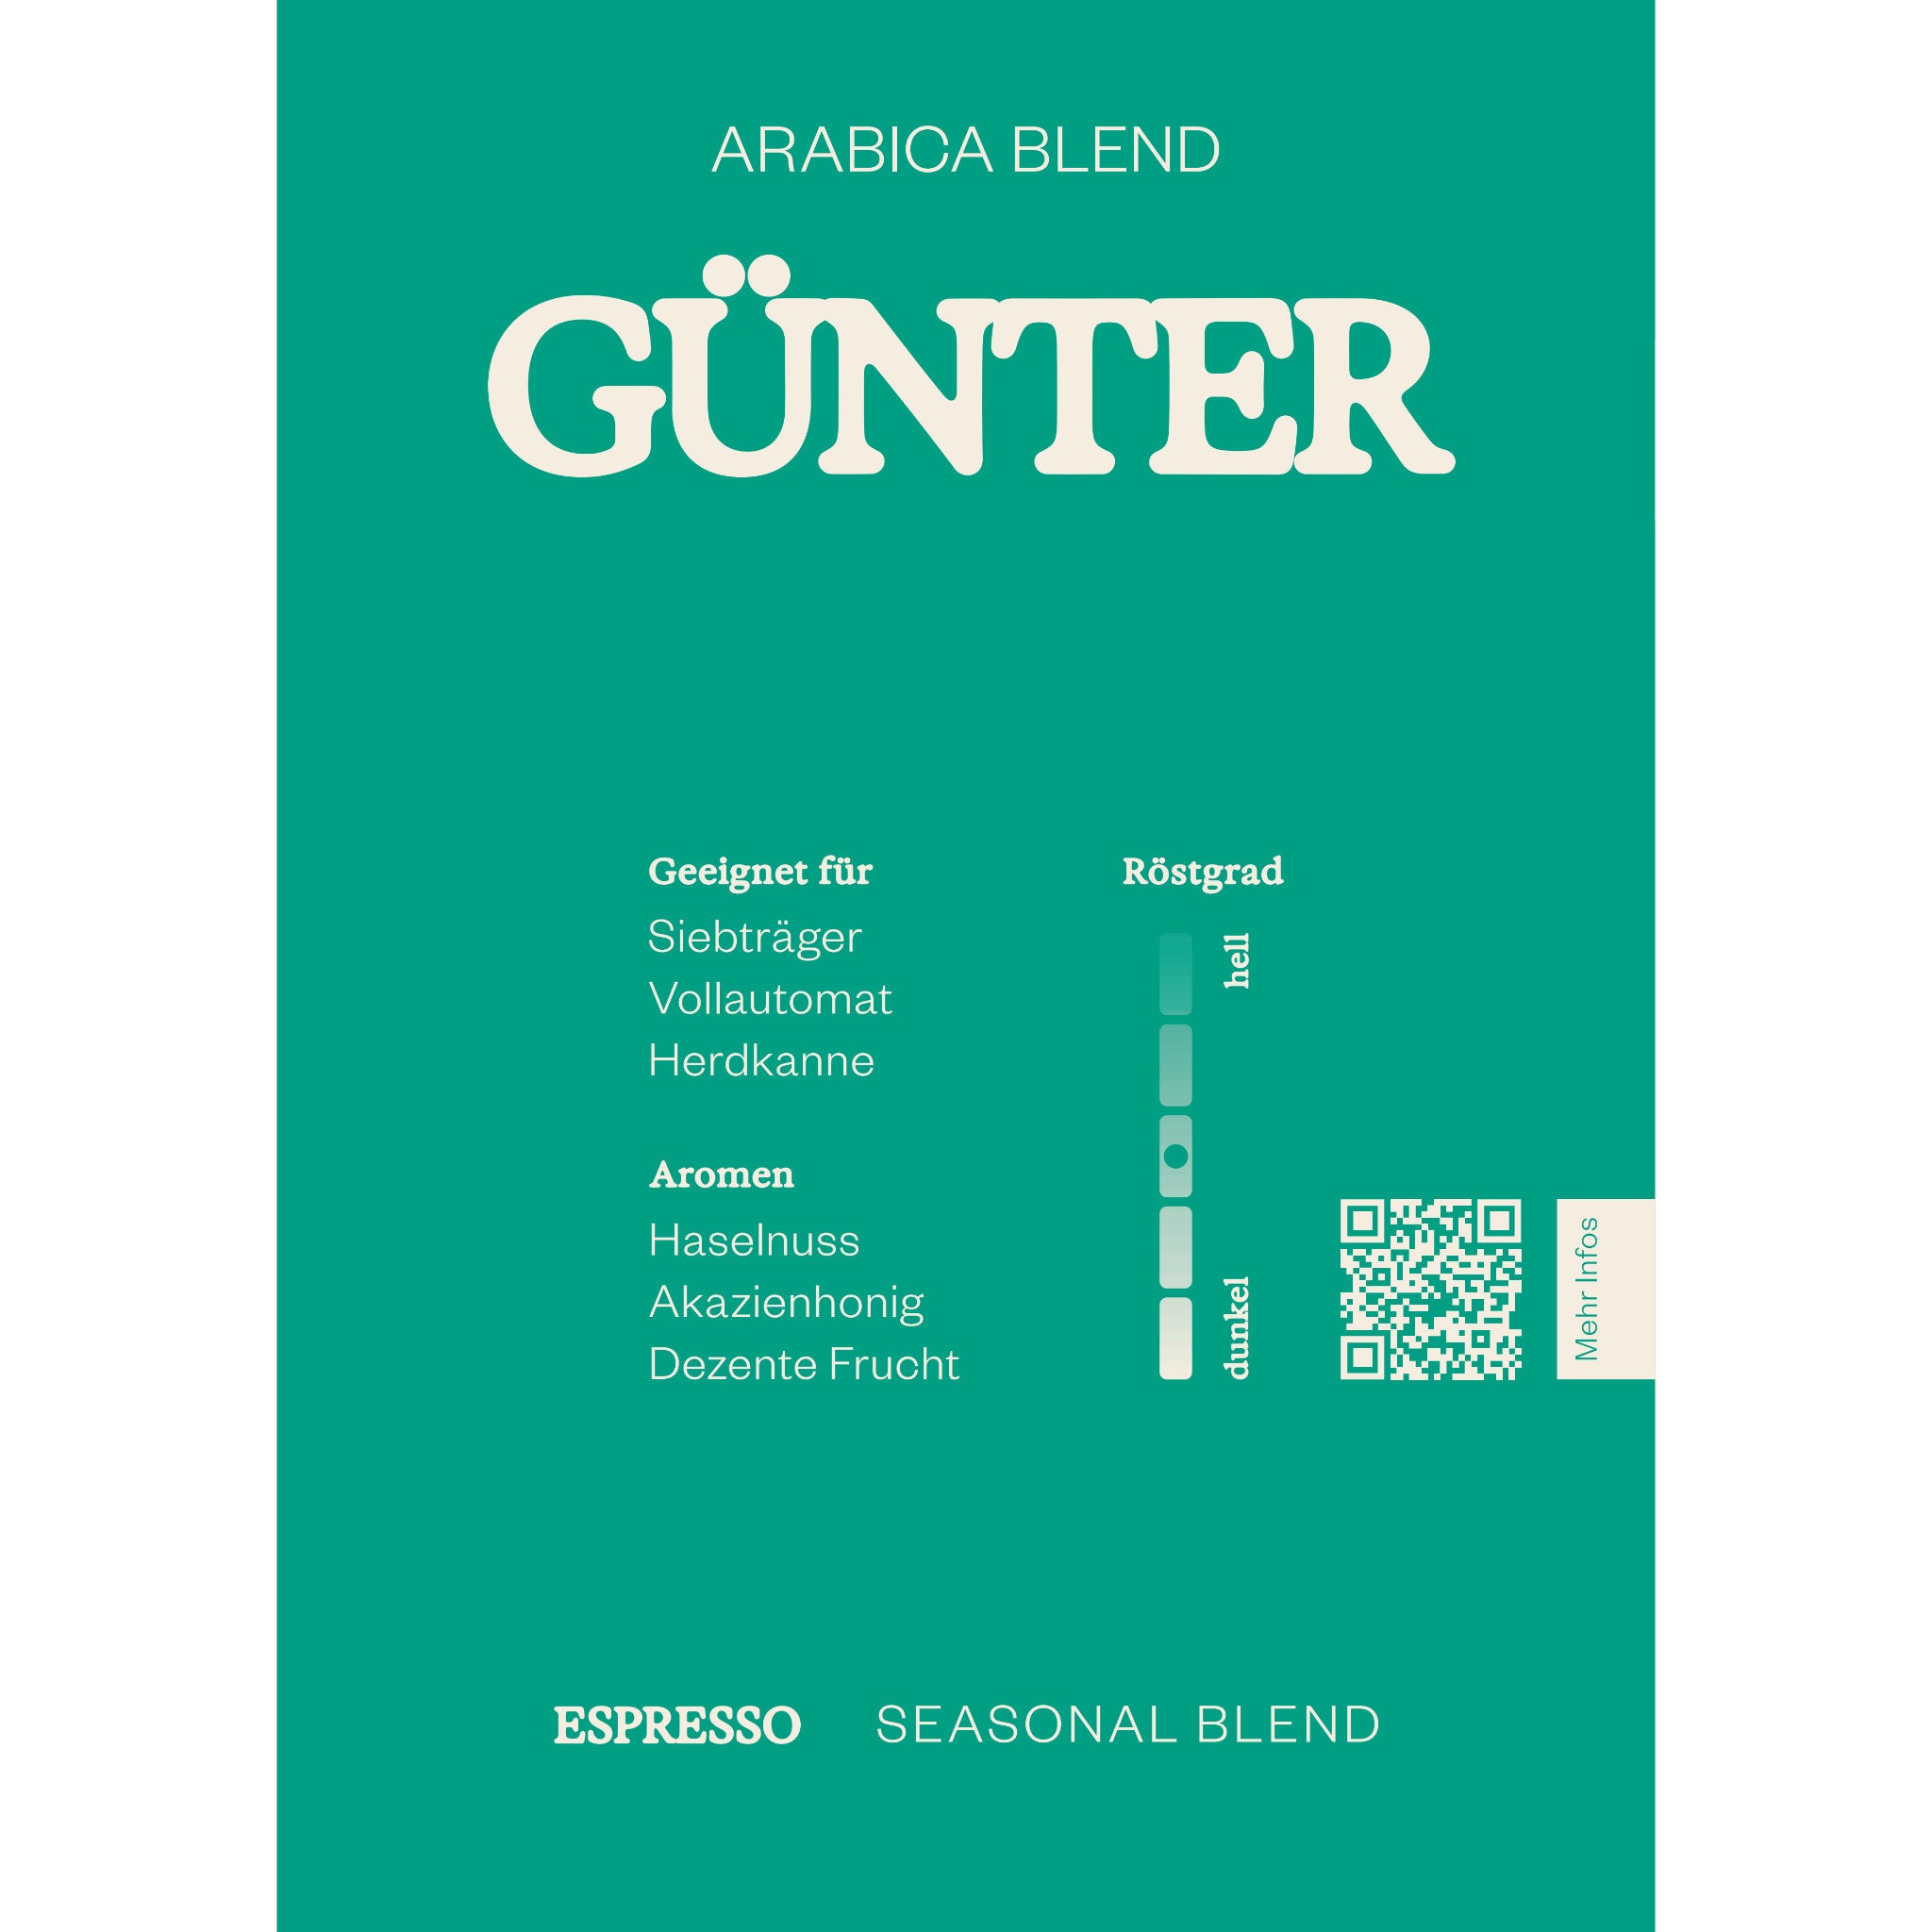
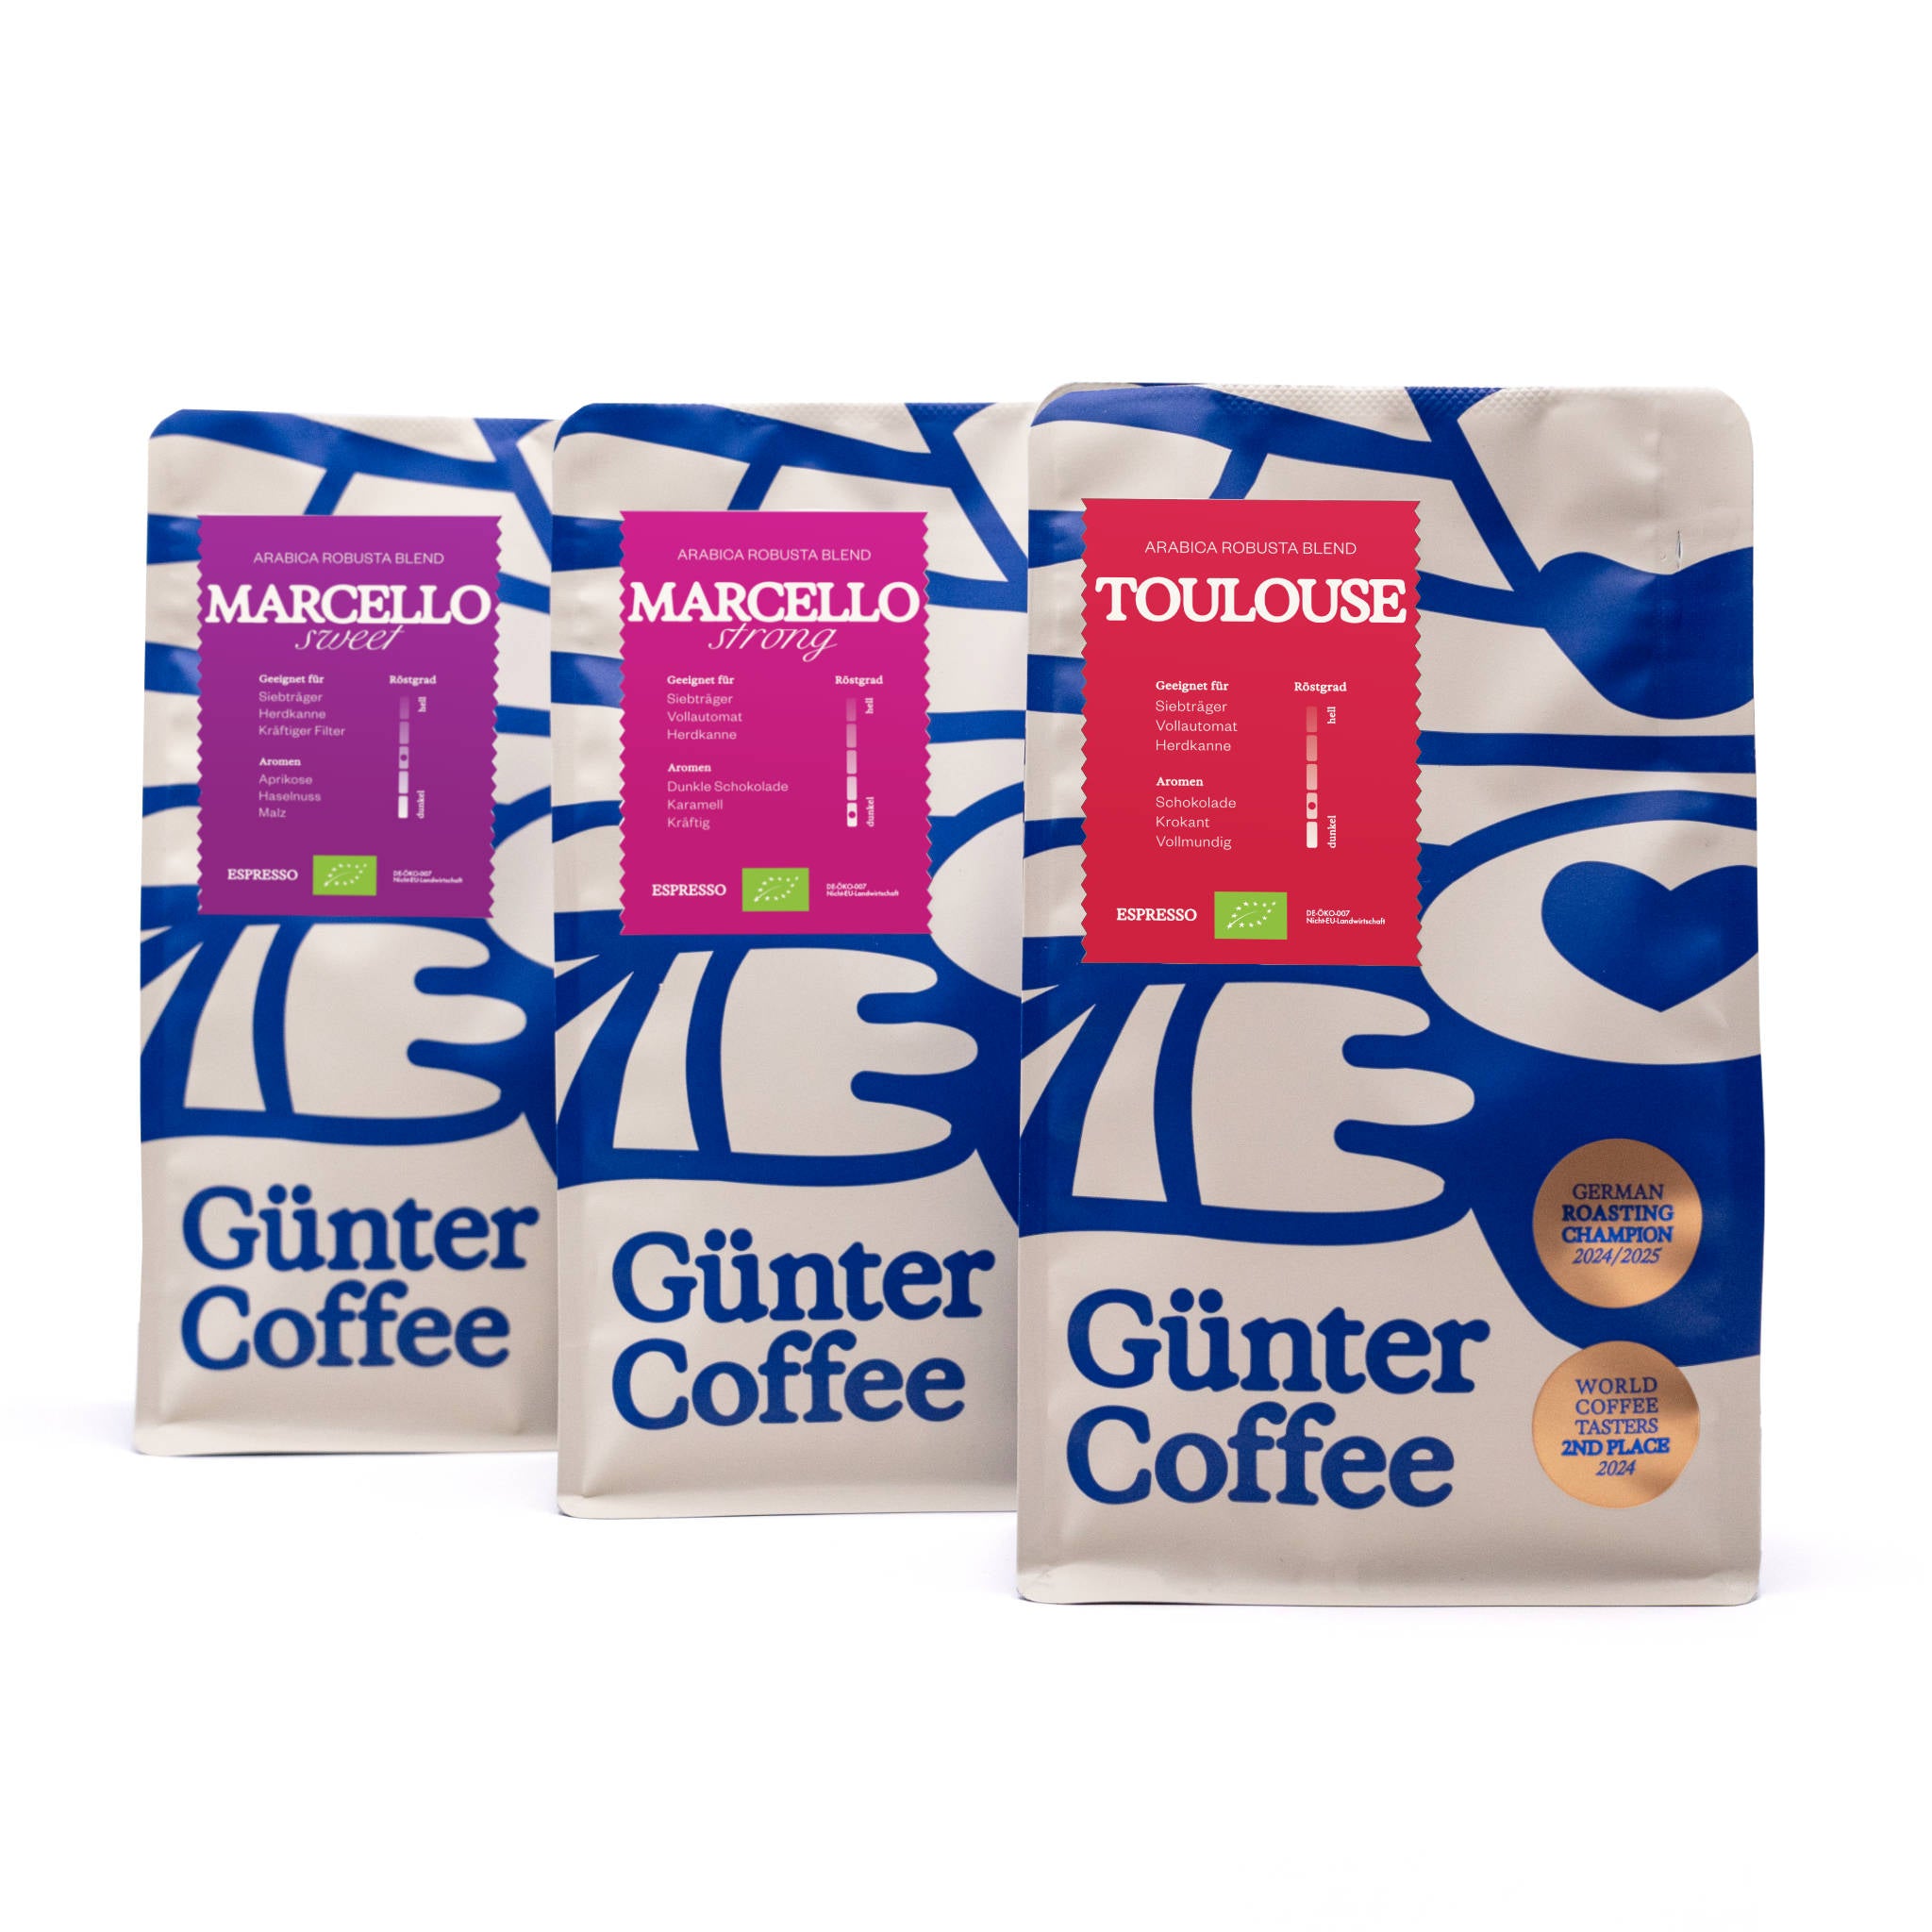
@Tim: Danke für das Lob! Für den Toulouse nutzen wir zwischen 17–17,5 g auf 40 g out in 26–29 Sekunden bei 93,9 °C. Für Günter nutzen wir 18–19 g, ansonsten sind die Werte identisch.
@Tim: Danke für das Lob! Für den Toulouse nutzen wir zwischen 17–17,5 g auf 40 g out in 26–29 Sekunden bei 93,9 °C. Für Günter nutzen wir 18–19 g, ansonsten sind die Werte identisch.
Tim
Super Blog!! Habe mir heute den Günter und Toulouse gekauft.
Welches Rezept verwendet ihr hier hinsichtlich Durchlaufzeit, Ratio und Temperatur?
Mahlgrad ist ja immer unterschiedlich von den Stufen…
Super Blog!! Habe mir heute den Günter und Toulouse gekauft.
Welches Rezept verwendet ihr hier hinsichtlich Durchlaufzeit, Ratio und Temperatur?
Mahlgrad ist ja immer unterschiedlich von den Stufen…
Nico | Günter Coffee
@Max: Danke für deinen Kommentar. Da wir den La Huerta als Filterkaffee geröstet haben, ist die Einstellung für den Siebträger etwas tricky. Als Faustregel gilt: Je heller die Röstung, desto feiner sollte der Kaffee gemahlen sein. Wenn wir den Colombia La Huerta in unserer Single-Origin-Mühle haben, verwenden wir immer zwischen 17 und 18,5 g Kaffee zu 40 g out bei 30 Sekunden Bezugszeit (Ratio ca. 1:2,2).
@Max: Danke für deinen Kommentar. Da wir den La Huerta als Filterkaffee geröstet haben, ist die Einstellung für den Siebträger etwas tricky. Als Faustregel gilt: Je heller die Röstung, desto feiner sollte der Kaffee gemahlen sein. Wenn wir den Colombia La Huerta in unserer Single-Origin-Mühle haben, verwenden wir immer zwischen 17 und 18,5 g Kaffee zu 40 g out bei 30 Sekunden Bezugszeit (Ratio ca. 1:2,2).
Max
Hi,
habt ihr ein paar Tipps wie ich die “COLOMBIA La Huerta” Bohne am besten für die Siebträger Zuhause einstellen kann?
Hi,
habt ihr ein paar Tipps wie ich die “COLOMBIA La Huerta” Bohne am besten für die Siebträger Zuhause einstellen kann?