Before we get into the topic of latte art, let's take a closer look at the tools of the trade. First, how could it be otherwise, is milk. Sure, it comes from cows, sheep, goats or other mammals, but...
What's milk, anyway?
Milk is an emulsion made of fat, proteins, lactose and water. There are also some minerals, vitamins and other substances, the amount and composition of which differ depending on the animal species. In addition, the further processing of milk has a major influence on the vitamin content.
Their special composition allows us to create art on coffee drinks. Provided we foam them first - otherwise it won't work. By the way, the vegan milk alternative made from oats is also very suitable for this. We prefer to work with the Oatly Barista Edition, which is also largely made up of fat, proteins, sugar and water.
What is Latte Art?
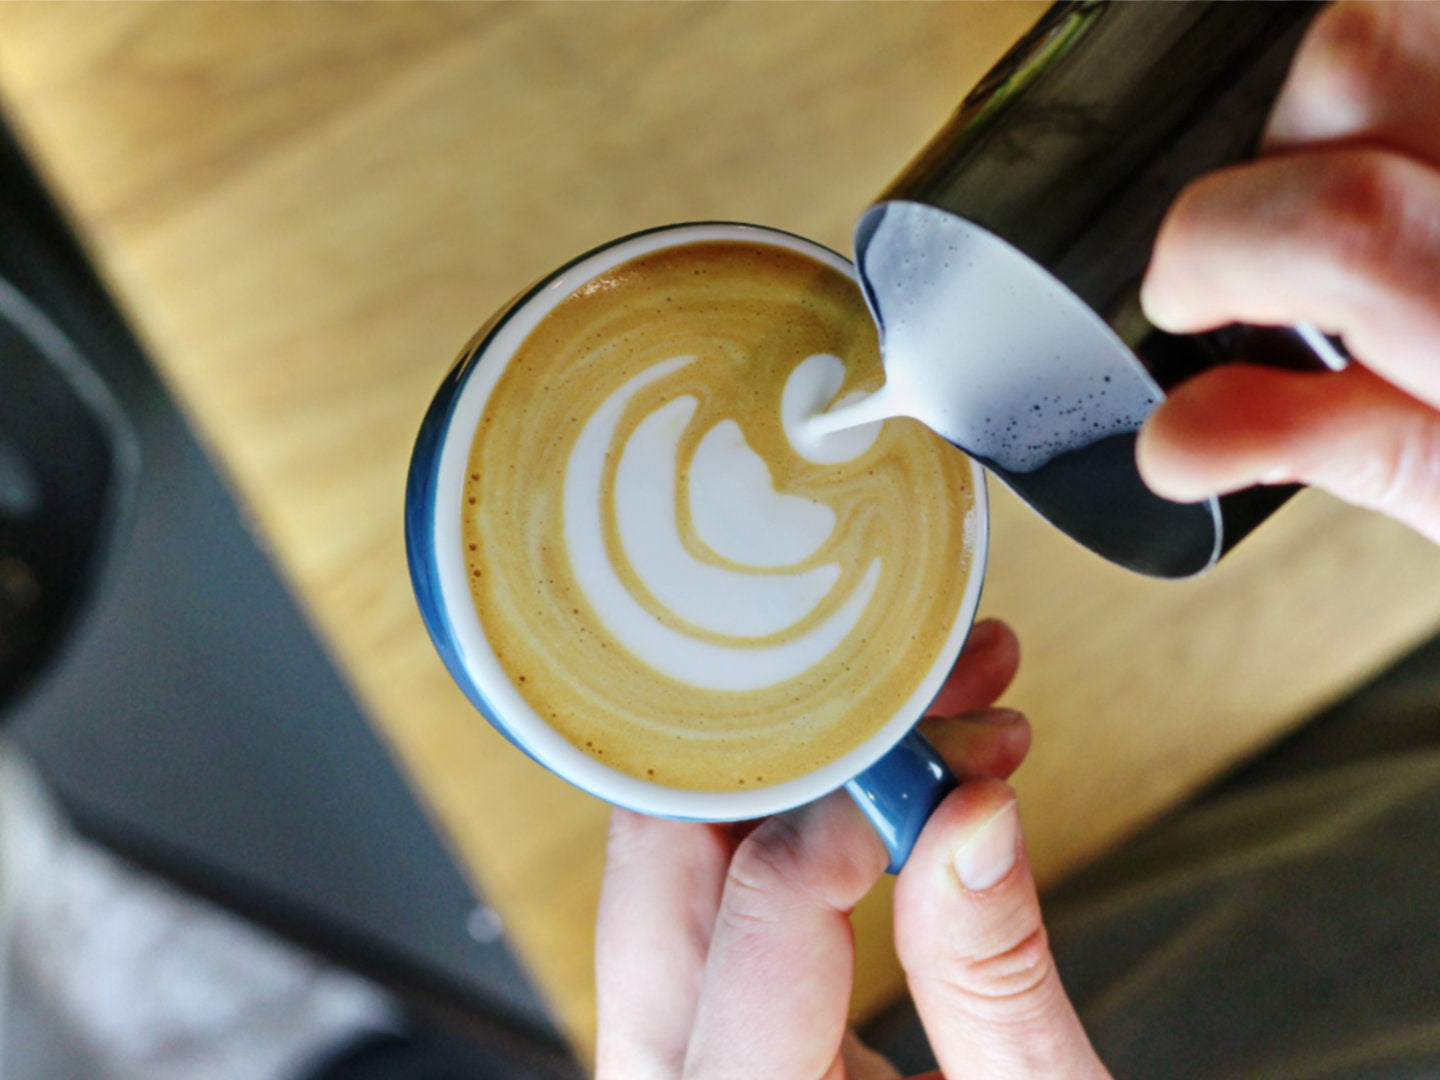
Latte art is the art of decorating and refining coffee drinks with the help of milk and milk foam by skillfully incorporating the milk into the espresso and its crema. A distinction is made between the techniques of pouring (with the help of a jug) and decorating (with a so-called latte art pen).
In addition to the visual refinement, it is also about a consistent drinking experience from coffee, milk and foam. Good latte art is created in harmony with technical mastery, creativity and knowledge of coffee and milk. Baristi regularly compete and showcase their skills at latte art competitions and championships. It depends on perfectly prepared milk foam, the quality of the drink, the complexity of the pattern and the placement of the art in the cup.
The perfect milk foam temperature for latte art is between 60-65°C. If the milk is hotter than 68°C, it takes on a burnt taste and its texture changes. The basis for successful latte art is a liquid, creamy and, above all, fine-pored, so-called microfoam. The standard motifs are heart, leaf or rosetta and tulip.
The best-known competition is the World Latte Art Championship, in which all winners of the respective country competitions compete once a year. In 2023, this championship will take place at the International Coffee Show in Taipei, Taiwan.
How is milk foam created?
Milk foam is created when air is drawn into the milk and the milk proteins mix with it under pressure. We have listed which milk and utensils are best for you here:
- Fresh milk is best because it foams better and produces a more stable milk foam than long-life milk.
- Cold milk as a starting material results in better milk foam quality because there is more time to produce the foam.
- Stainless steel jugs are best suited for foaming because the temperature during foaming can be easily controlled because stainless steel has good thermal conductivity. When foaming, the volume of the milk changes - it expands.
- An espresso machine with a steam wand is best suited to quickly achieve even milk foam.
For coffee drinks, a distinction is made between solid, fine-pored and dense foam (for example for the classic latte macchiato) and liquid, creamy and fine-pored foam. For latte art we need the latter. The reason: With solid foam, the milk settles to the bottom after just a few seconds and the desired mixing of coffee and milk does not occur.
Creamy foam, on the other hand, first spreads across the bottom of the cup and then rises again. This causes the milk and coffee to mix and creates a surface on which we can pour latte art that doesn't submerge. The quality of the fine-pored, silky milk foam depends on the protein content and the frothing temperature. The foaming process consists of the drawing phase and the rolling phase.
- The drawing phase takes place at the beginning of foaming. Air is drawn into the milk until it is approx. 40 °C warm (hand warm). This should make a slightly scratchy noise.
- The rolling phase can follow the pulling phase or take place during it for even creamier foam. Here we reduce and connect the air bubbles by rotating movements.
The milk frothing process is complete when it has reached a temperature of 60-65°C. A good indicator for not having to use a thermometer every time: the pot is usually too warm to hold. That's why we always touch our milk jug with both hands. We hold it by the handle with one hand and wrap it around the front with the other palm. The time it takes to reach the final temperature depends on the amount of milk in the jug.
The way to the perfect milk foam for coffee
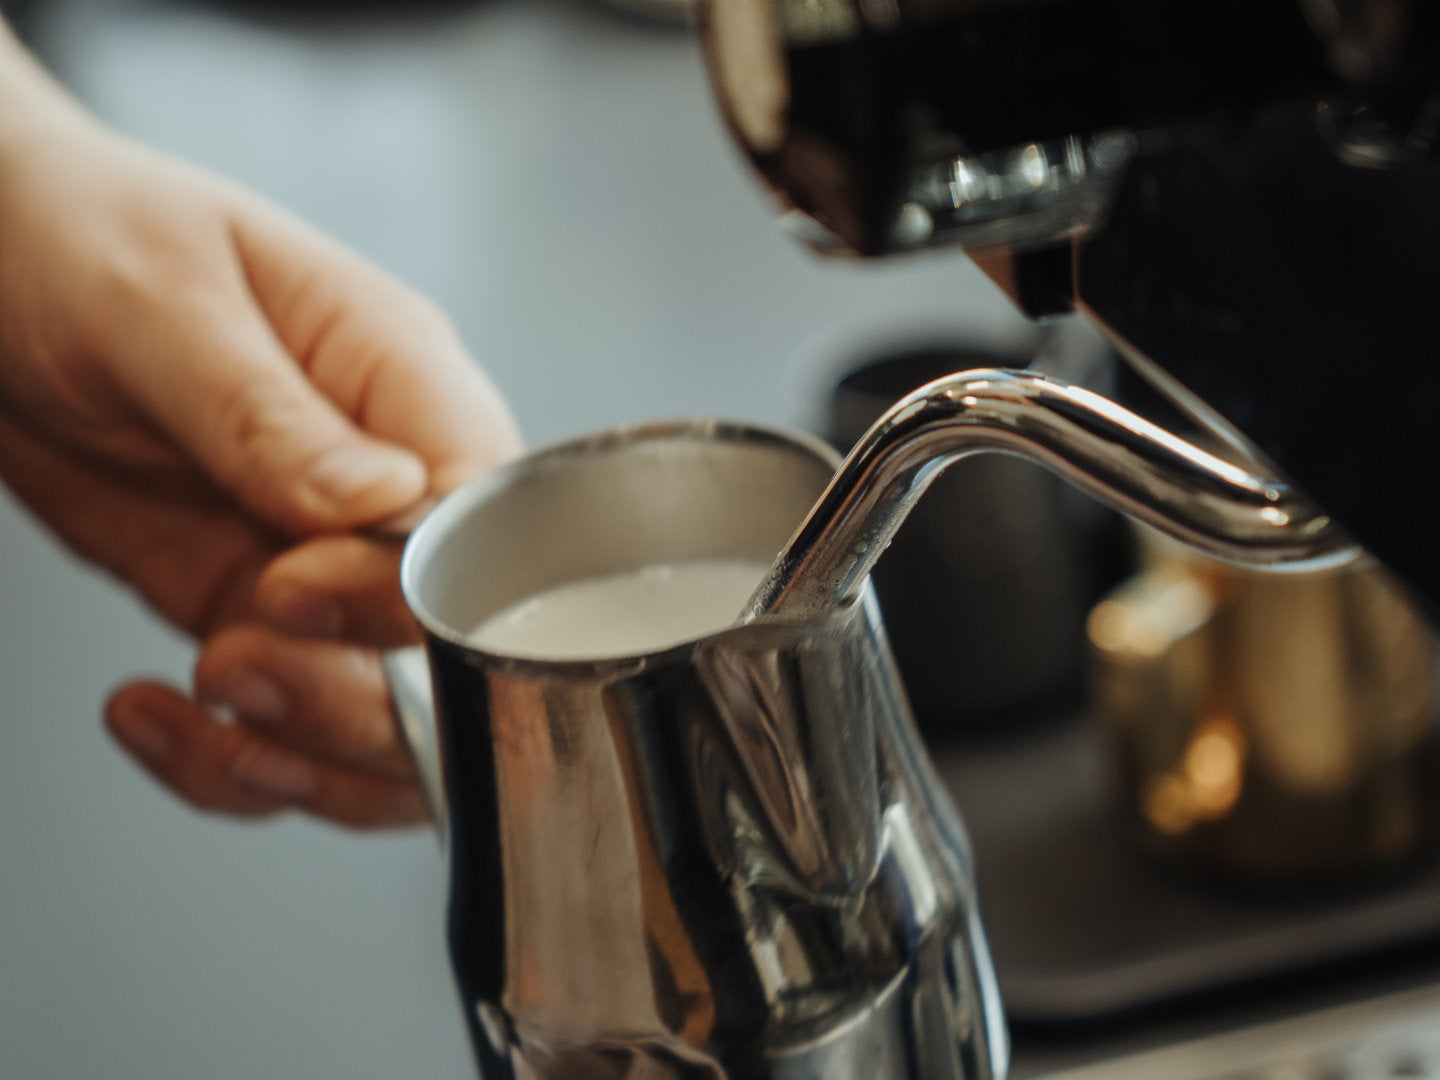
If we want milk foam, we grab a milk jug and fill it ⅔ full with cold milk. It doesn't matter whether we use cow's milk or an alternative such as oat milk. Then we position the head of the steam lance of our espresso machine under the surface of the milk and open the steam tap completely (pay attention to the order, otherwise milk will splash!). We hold the front of the milk jug with one palm and hold it by the handle with the other.
The drawing phase begins, in which milk foam forms. Air is drawn into the milk and we move the jug slightly downwards until we see part of the steam wand head. This should make a scratching noise until the jug noticeably warms up. This is followed by the rolling phase, in which the foam compacts. We now move the jug slightly upwards so that the head of the steam lance is below the surface of the milk while the milk rotates to condense. As soon as the jug has heated up to the point where the heat makes it uncomfortable to hold it, we close the steam tap and put the milk jug aside.
We clean the steam wand of any milk residue with a cloth. Since the milk dries quickly, it is recommended to do this immediately after frothing. It is helpful to open the steam tap briefly while holding our cloth under the lance head to remove any milk residue inside the lance. The hot steam also helps to clean the lance without leaving any residue.
Now we grab our milk jug again and tap it on the counter to remove any large foam bubbles. Then we swirl it until the milk is shiny. The milk foam is ready! Now you can get started with the latte art.
Do you have problems with the milk foam?
To ensure that milk frothing is successful, it helps to pay attention to the following points: position of the steam head in the milk, angle of the jug and angle of the jug in relation to the steam wand. The following tips will help:
- Orient the steam wand so that it is facing you and at a 45° angle.
- Position the jug so that the steam head is in the middle of the milk.
- Tilt the bottom of the jug slightly to the left.
- The steam head should now be about ⅓ away from the right edge of the jug.
This is how you make a latte art heart
Hold your cup filled with 20 or 40 ml of espresso by the base or handle. Depending on what suits you more to grip it stably.
- Now hold the cup at a slight angle and place the milk jug at a 90° angle to the handle.
- Pour the milk in a steady, thin stream from about a hand's length away until the cup is about ⅔ full. Ideally, the milk foam disappears under the crema.
- Bring the cup from its slanted position into a straight position. Now lower the milk jug slightly towards the crema and start slowly pouring the milk foam from the back third of the cup. Move the jug several times quickly but centered from left to right (wiggle). This creates structure in the milk foam circle.
- Fill the cup until just before the rim and then pull the jug into the front third of the cup. Make sure to pour with a constant, thin stream so that the tip of the heart is delicate.













2 comments
Nico | Günter Coffee Roasters
Hi Alisa, thanks for your comment. The article was first published on May 11, 2023.
Hi Alisa, thanks for your comment. The article was first published on May 11, 2023.
Alisa
when was this article published
when was this article published