


Cleaning is meditative for some and just an absolute horror for others. However, if you are careless when cleaning the coffee grinder, you will quickly compromise on taste. This is especially noticeable if you rely on high-quality coffee beans. Old coffee grounds and deposits of oils and fats ensure that the coffee tastes bland, rancid or even like cardboard. In order to avoid this and to enjoy our coffee grinder for as long as possible, we clean it regularly.
Coffee grinders are available in a variety of sizes, shapes and colors. That's why in this guide we won't focus on any specific model or whether it's a manual or electric grinder. Rather, we would like to describe the most important general steps for cleaning a coffee grinder.
Excursus: Anatomy of a coffee grinder
Each coffee grinder has a coffee bean compartment, a grinder and an outlet for the ground coffee. All of these areas and surfaces come into contact with coffee beans or ground coffee. Fats and oils that are naturally contained in coffee stick to the surfaces of the grinder. That's why every coffee grinder needs to be cleaned regularly.
In all grinders, ground coffee settles especially in the area of the grinder and afterwards. We are talking about the so-called dead space here. Depending on where it is deposited, this ground coffee will either remain there until the next grinding cycle or even until the next cleaning and become rancid.
Cleaning the coffee grinder – step by step
Some coffee grinders are relatively easy to disassemble, while others are more difficult or even impossible. If we have a grinder that we can take apart, let's move on to step 1. If we can't or don't want to disassemble it, go to step 2. Always make sure to unplug your electric coffee grinder before cleaning it!

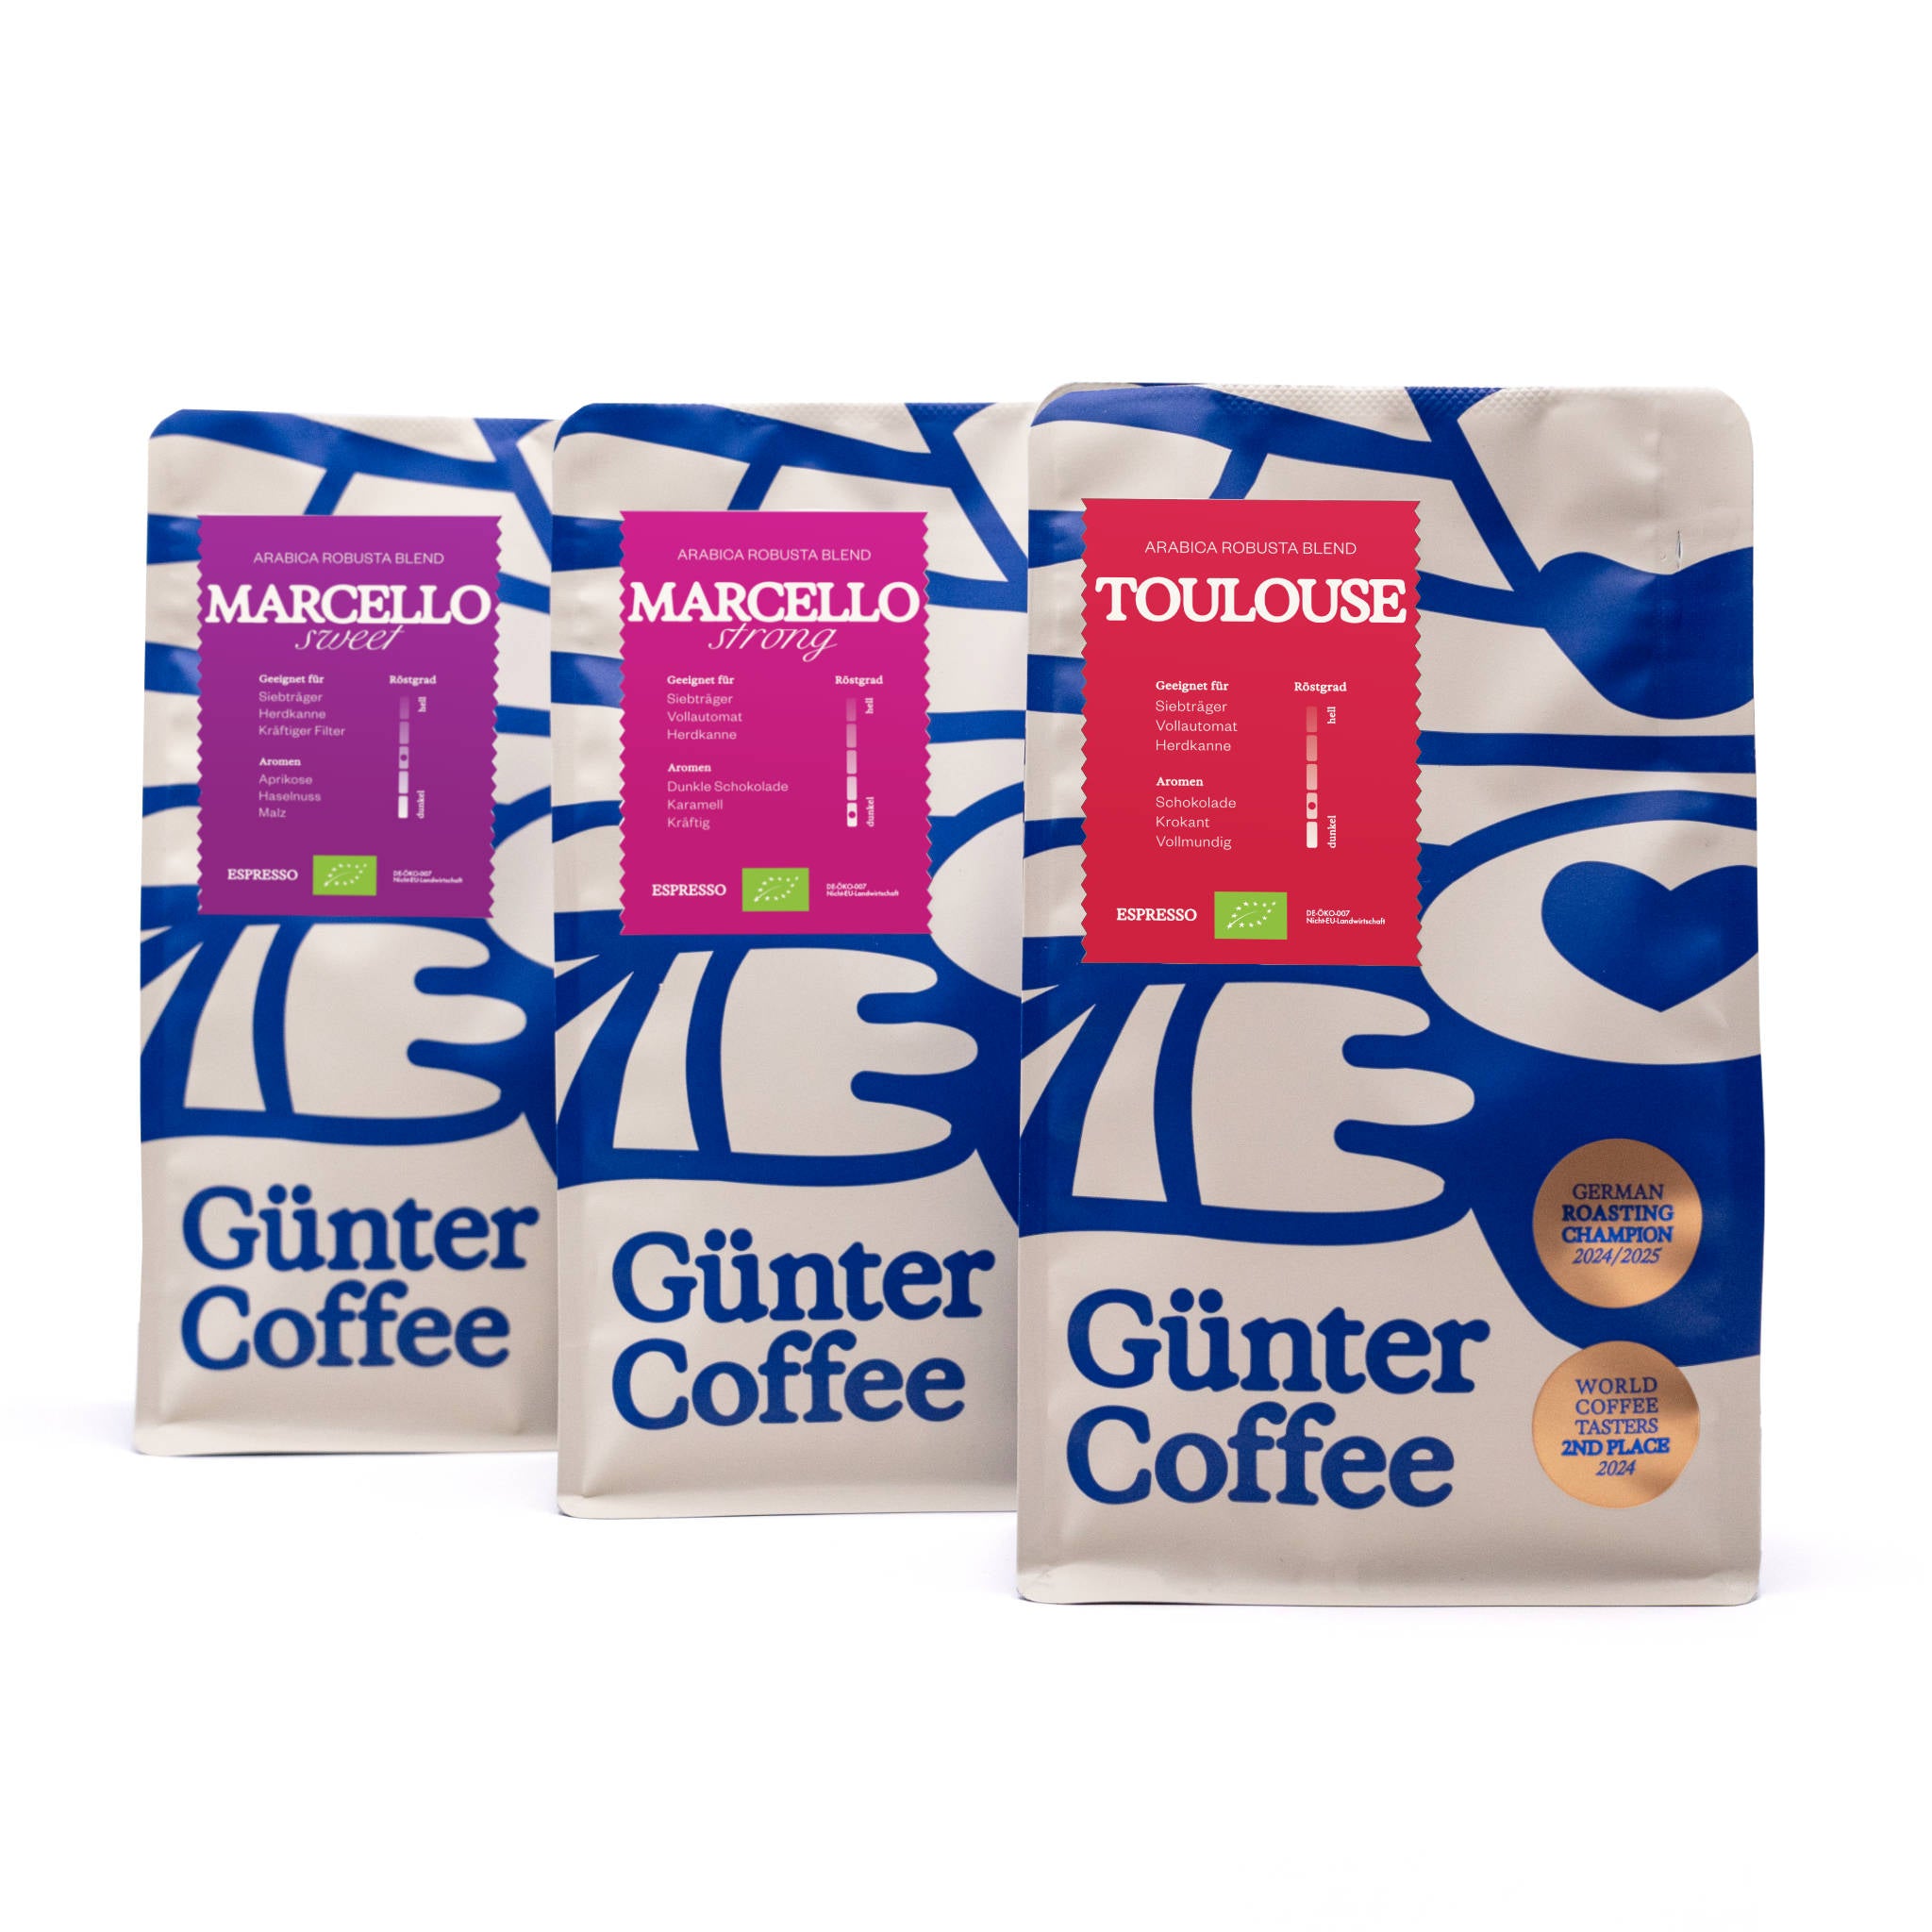
We taste Schokolade, Brittle und Full-bodied. What do you taste?
Try our TOULOUSE Blend Organic.


1. Disassemble the coffee grinder (if possible)
If the coffee grinder came with a manual, it's worth taking a look. There we may find information on how to properly disassemble and reassemble our mill. It is important that we feel safe when disassembling and that we document the steps so that we can put our mill back together correctly after cleaning.
To disassemble the grinder, we usually need a screwdriver. Since coffee grounds often collect here, it's worth cleaning them every now and then. This is usually very easy, especially with manual coffee grinders, such as the models from Comandante or Timemore. Things get more difficult with electric mills. Some manufacturers are now paying attention to modularity and easy repair options for sustainability reasons and increased demand.
2. Clean the coffee grinder
It is best to clean removable parts under running water with a little detergent, for example the bean container. It is best to use a brush to work on parts that have ground coffee stuck to them before using water. It is important that we rinse thoroughly with clear water so that no washing up or other cleaning agent residue remains on the individual parts of our mill.
We do not wash parts that we cannot remove from our coffee grinder with water. No water should get into the interior of the mill.
If you cannot dismantle the grinder of your coffee grinder, there are special cleaning products that reliably remove oils and fats. The same applies if you don't want to disassemble the mill every time. We regularly use cleaning granules from Urnex for this purpose. With regular use of the Urnex Grindz cleaning agent, which consists of biodegradable ingredients and is suitable for all types of coffee grinders, you can keep your coffee grinder reliably clean.
3. Reassemble the coffee grinder
We don't want any water on the beans or the ground material before the brewing process. That's why we make sure that all parts of our coffee grinder are dry before we reassemble it. If we don't want to wait for the parts to air dry, we use a microfiber cloth. This way we ensure that no lint sticks to the parts afterwards.
Instructions: Clean the coffee grinder with Urnex Grindz
Cleaning with the granules is very simple: we first remove all the coffee beans from our coffee grinder and then put a portion of the granules into the bean container. We can find out how much a portion is in the instructions. Now we set the medium grinding level of our mill and start the grinding process. The granules absorb all dirt particles and oil residues and transport them out of the coffee grinder.
We should then grind two more portions of coffee beans through the coffee grinder and discard them in order to remove any remaining granules. We use old beans that we no longer use for drinking. Now our coffee grinder is clean again and ready for the next use.
How often does a coffee grinder need to be cleaned?
This question can not be answered generally. It always depends on how often we use our mill. For daily private use, we recommend cleaning the grinder with Urnex Grindz at least every two weeks and disassembling it at least every two months, if possible. This ensures that we can enjoy our grinder for a long time and that our coffee does not taste rancid or strange. The quality of the coffee beans also plays a role. Oily beans in particular require the coffee grinder to be cleaned more frequently.